Time is running out for the Spring 2020 One Room Challenge and there’s still so much to do! This week I finally turned my attention to the bathroom floor.
I sanded the floor a little bit, cleaned it with a goo-buster/degreaser, primed it with Zinsser Bullseye 1-2-3 and painted it with Rustoleum Chalked paint in Country Grey.
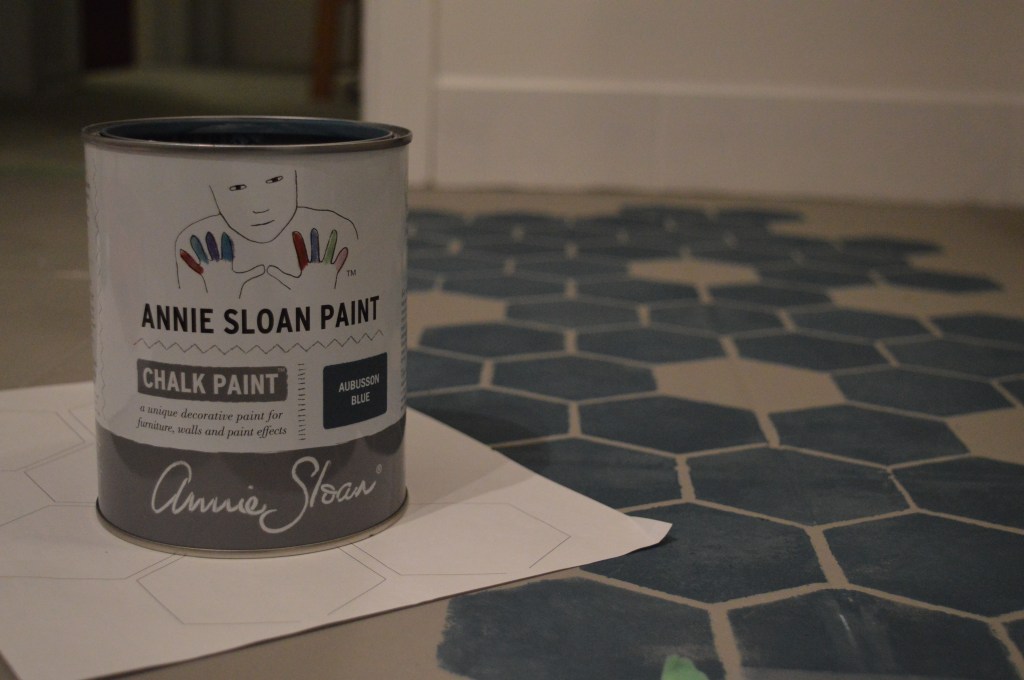
I wanted to do my best to recreate this handmade tile from Mercury Mosaics.
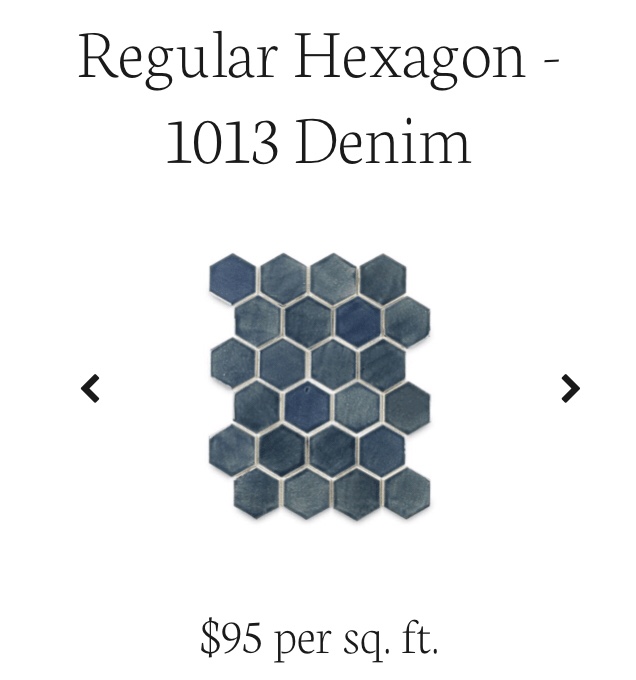
Unfortunately at $95 USD/sq. ft. it was way out of my price range for this Budget Room Refresh. Maybe one day. A girl can dream right?
So my alternative was to stencil the hexagon pattern onto the existing tile. In order to really make this work I knew I would need a custom stencil so that the grout lines would line up as much as possible with the existing grout lines too.
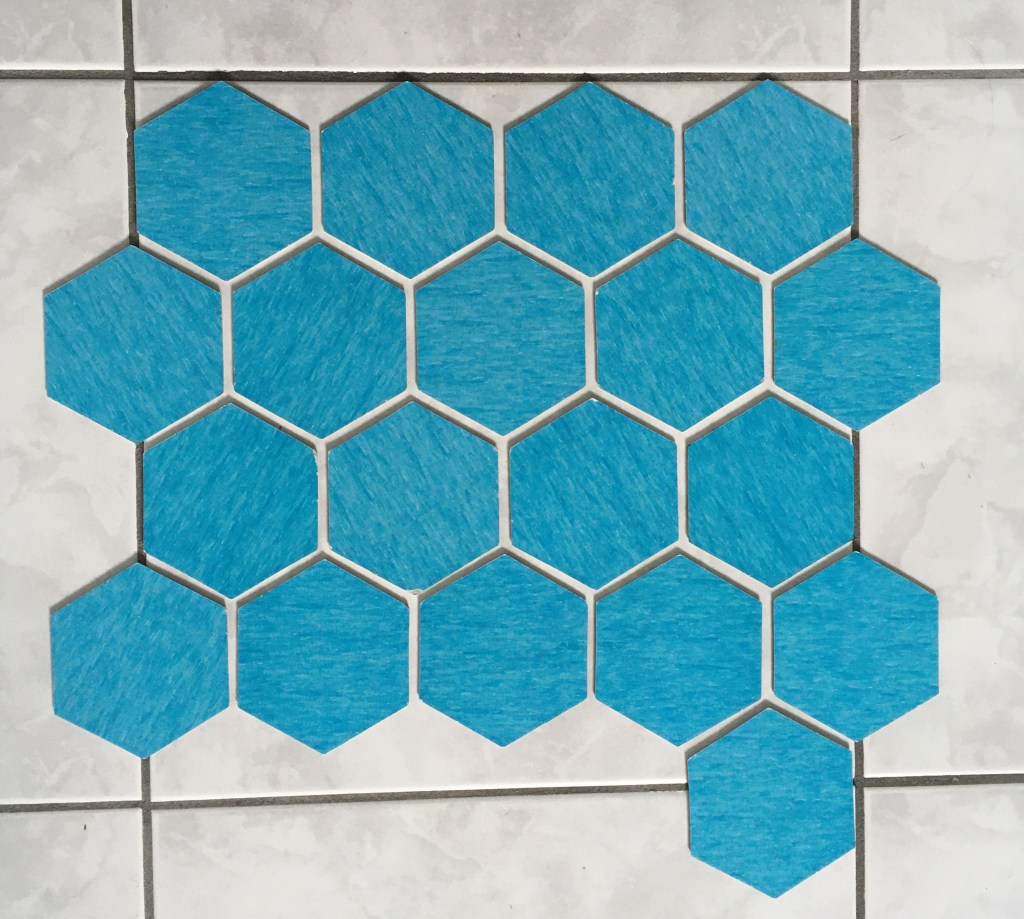
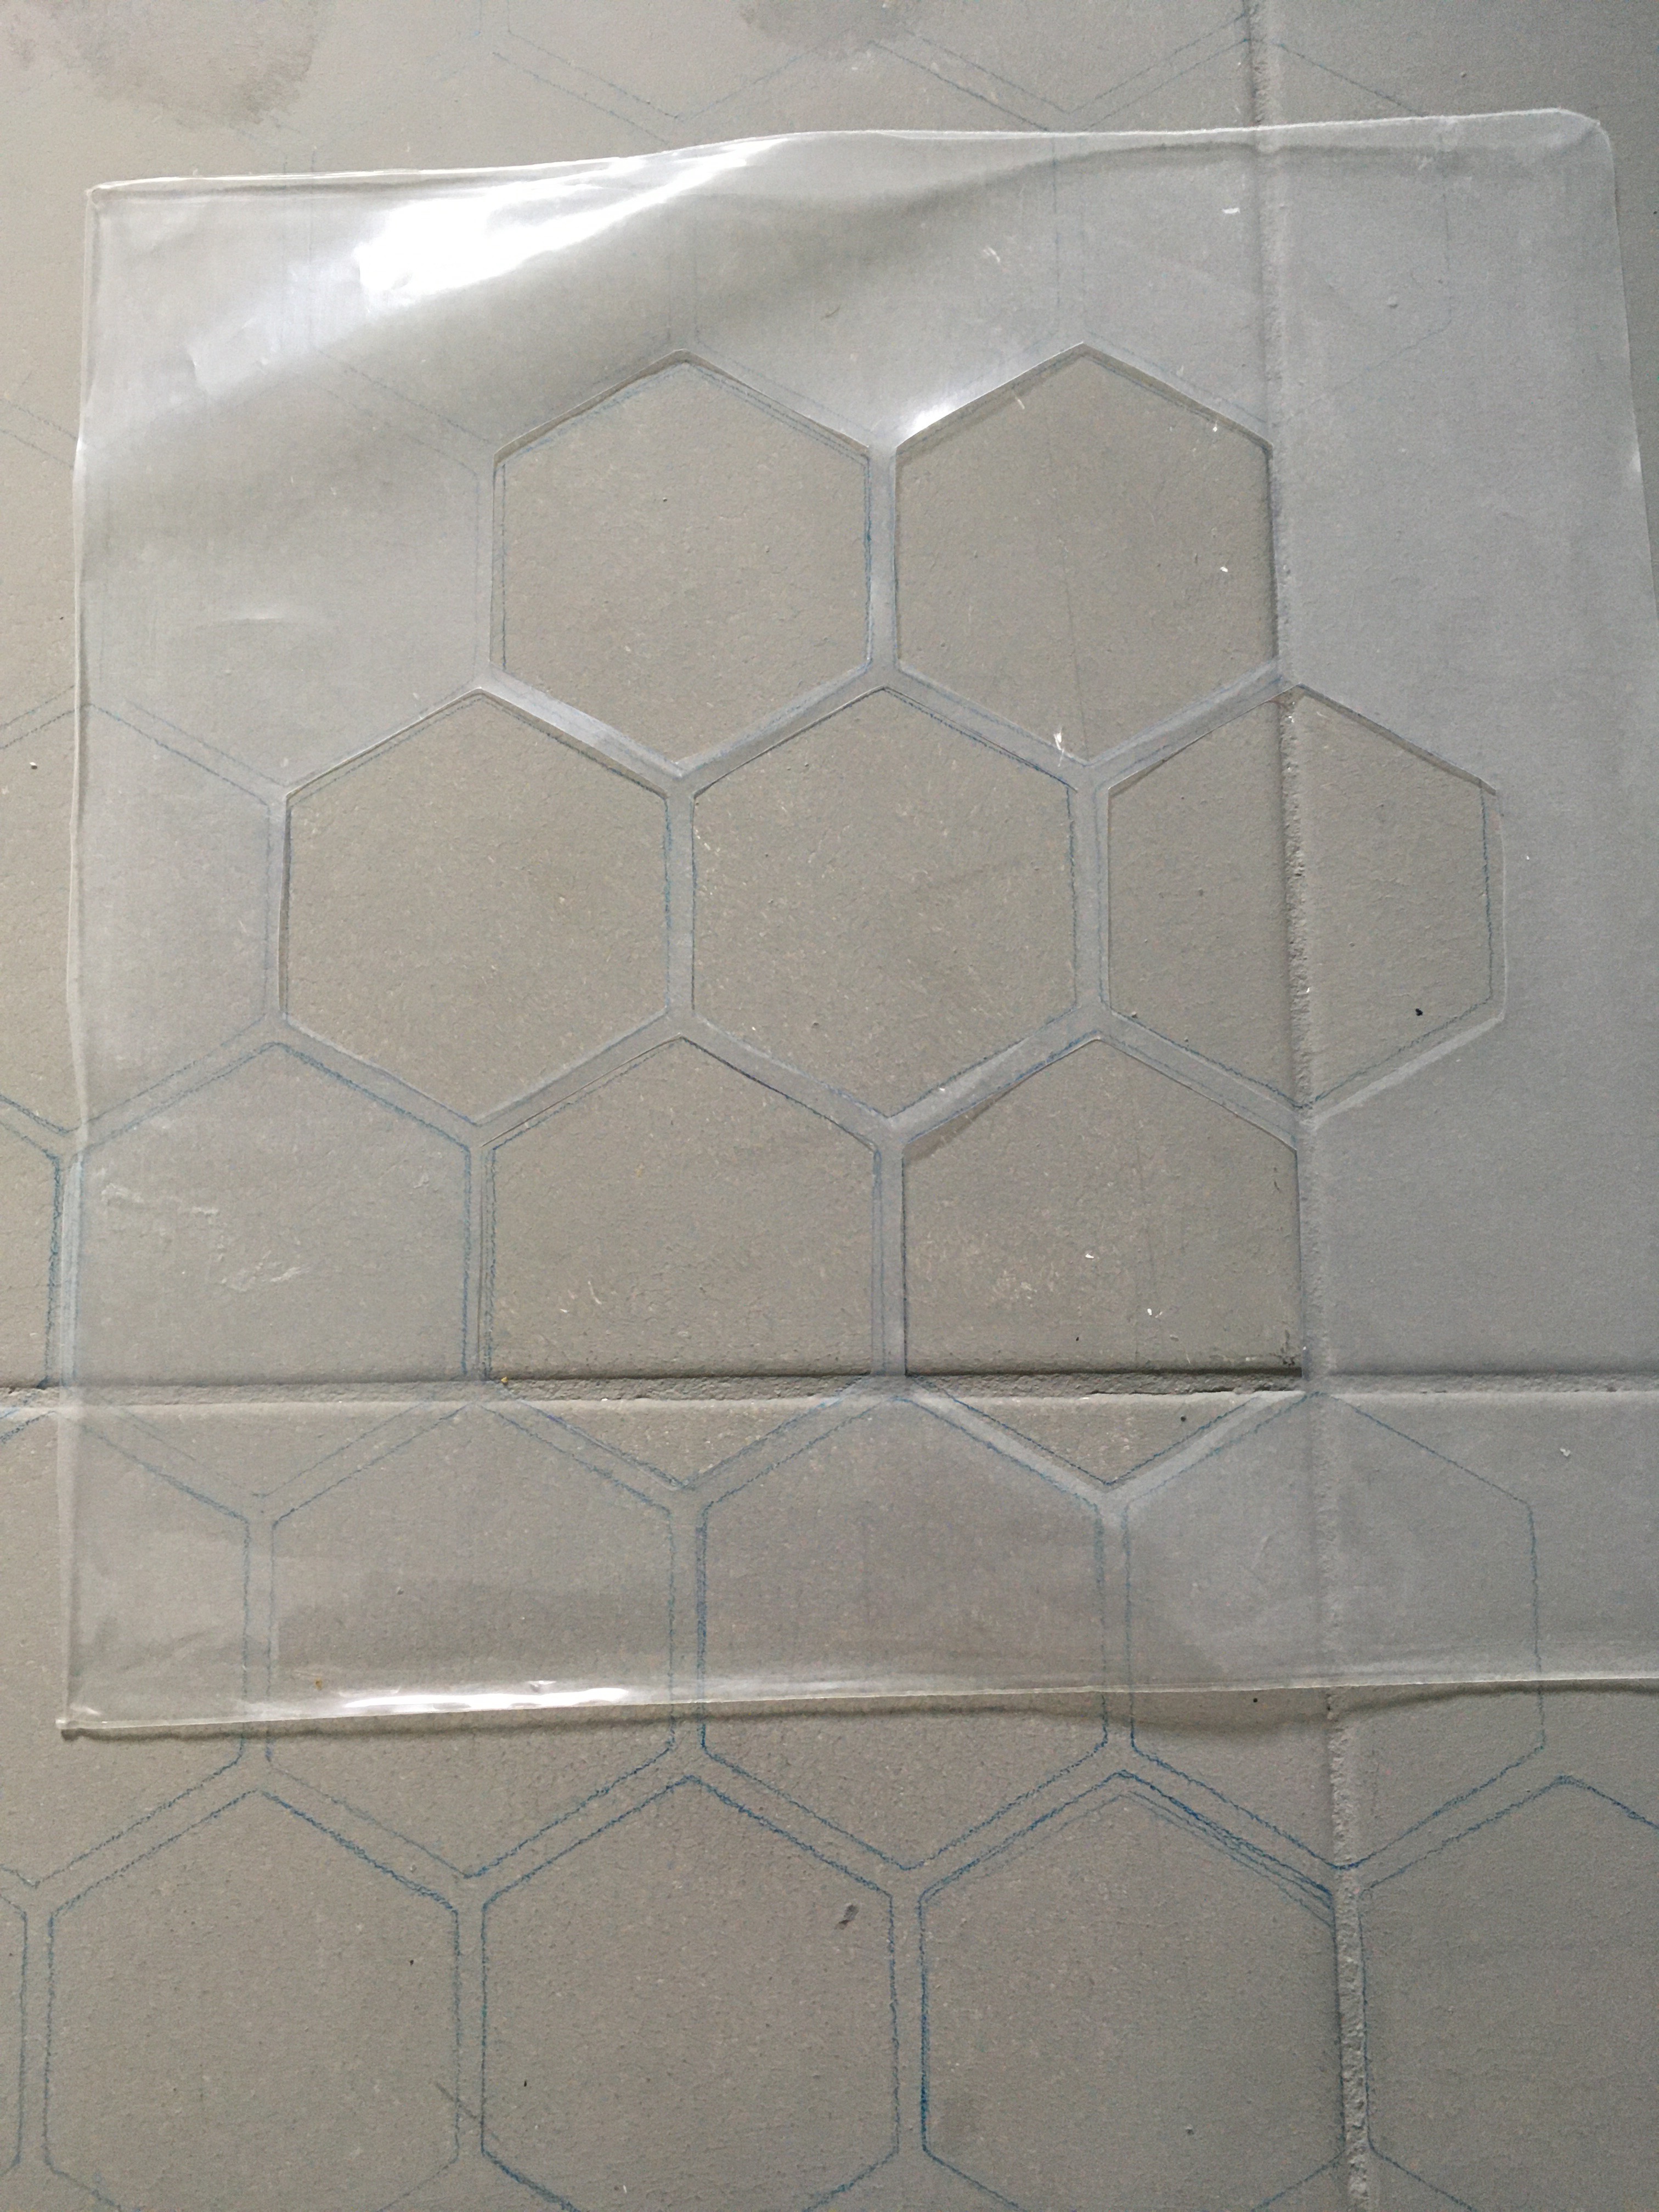
I used the hex cardboard tiles from Settlers of Catan to see if I liked the look. Then I made my first attempt at a stencil using an old piece of linoleum flooring and a utility knife.
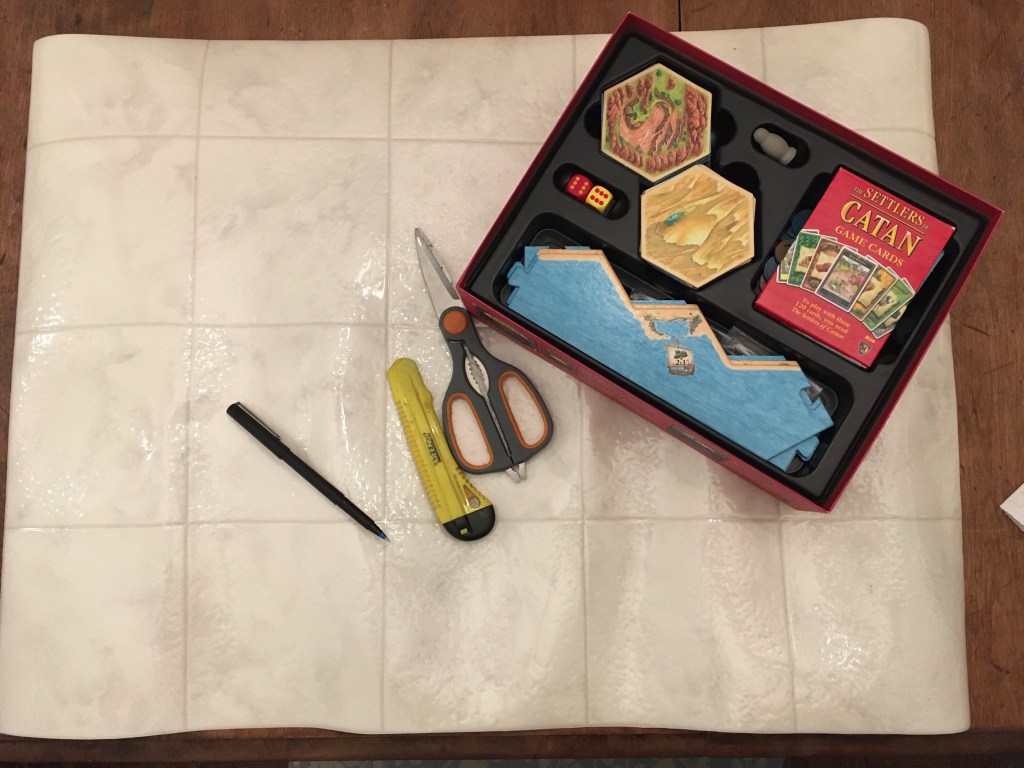
That stencil wouldn’t work for a few reasons. One the linoleum had been rolled up in our basement so long it simply would not lay flat. Second, tracing the Settlers tile and eyeballing the spacing was not going to make a consistent pattern.
I then tried tracing the Settler’s tiles onto the floor to get the spacing right which was pretty tricky. Once I was happy with it I lay a clear piece of plastic over the pattern and copied it and cut it out. Again it was inconsistent and that plastic was too flimsy to be used as a reusable stencil.
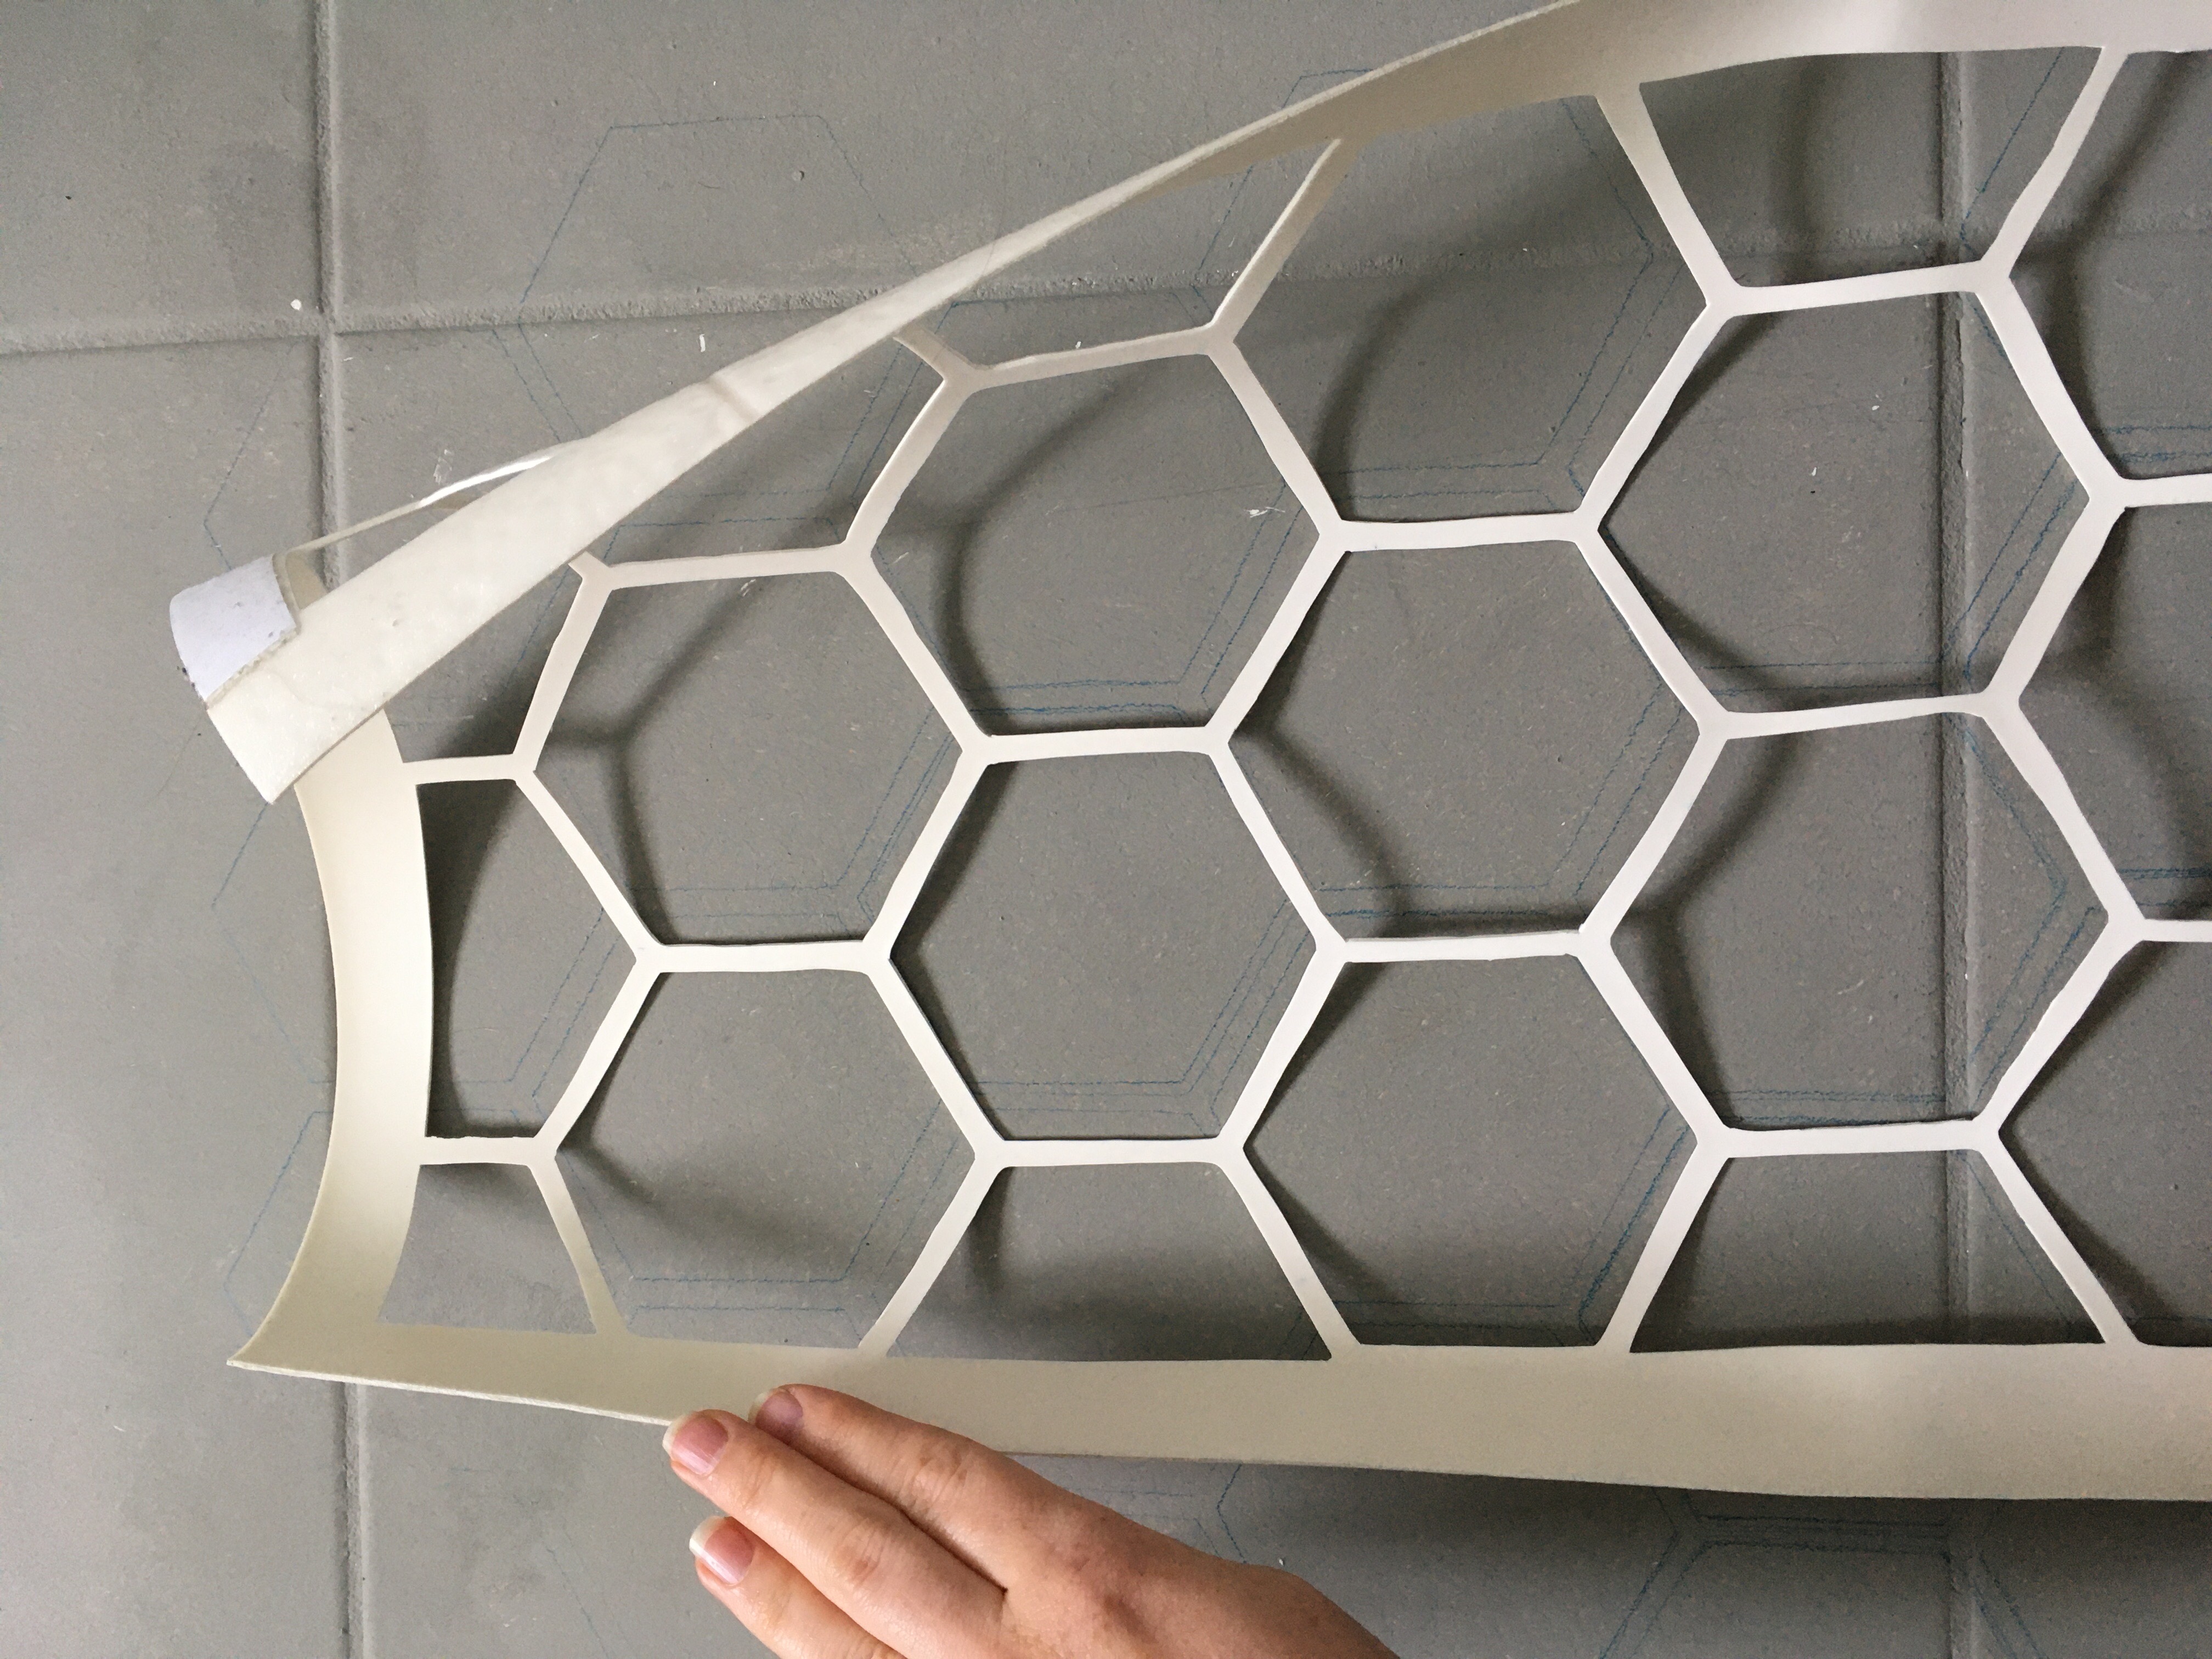
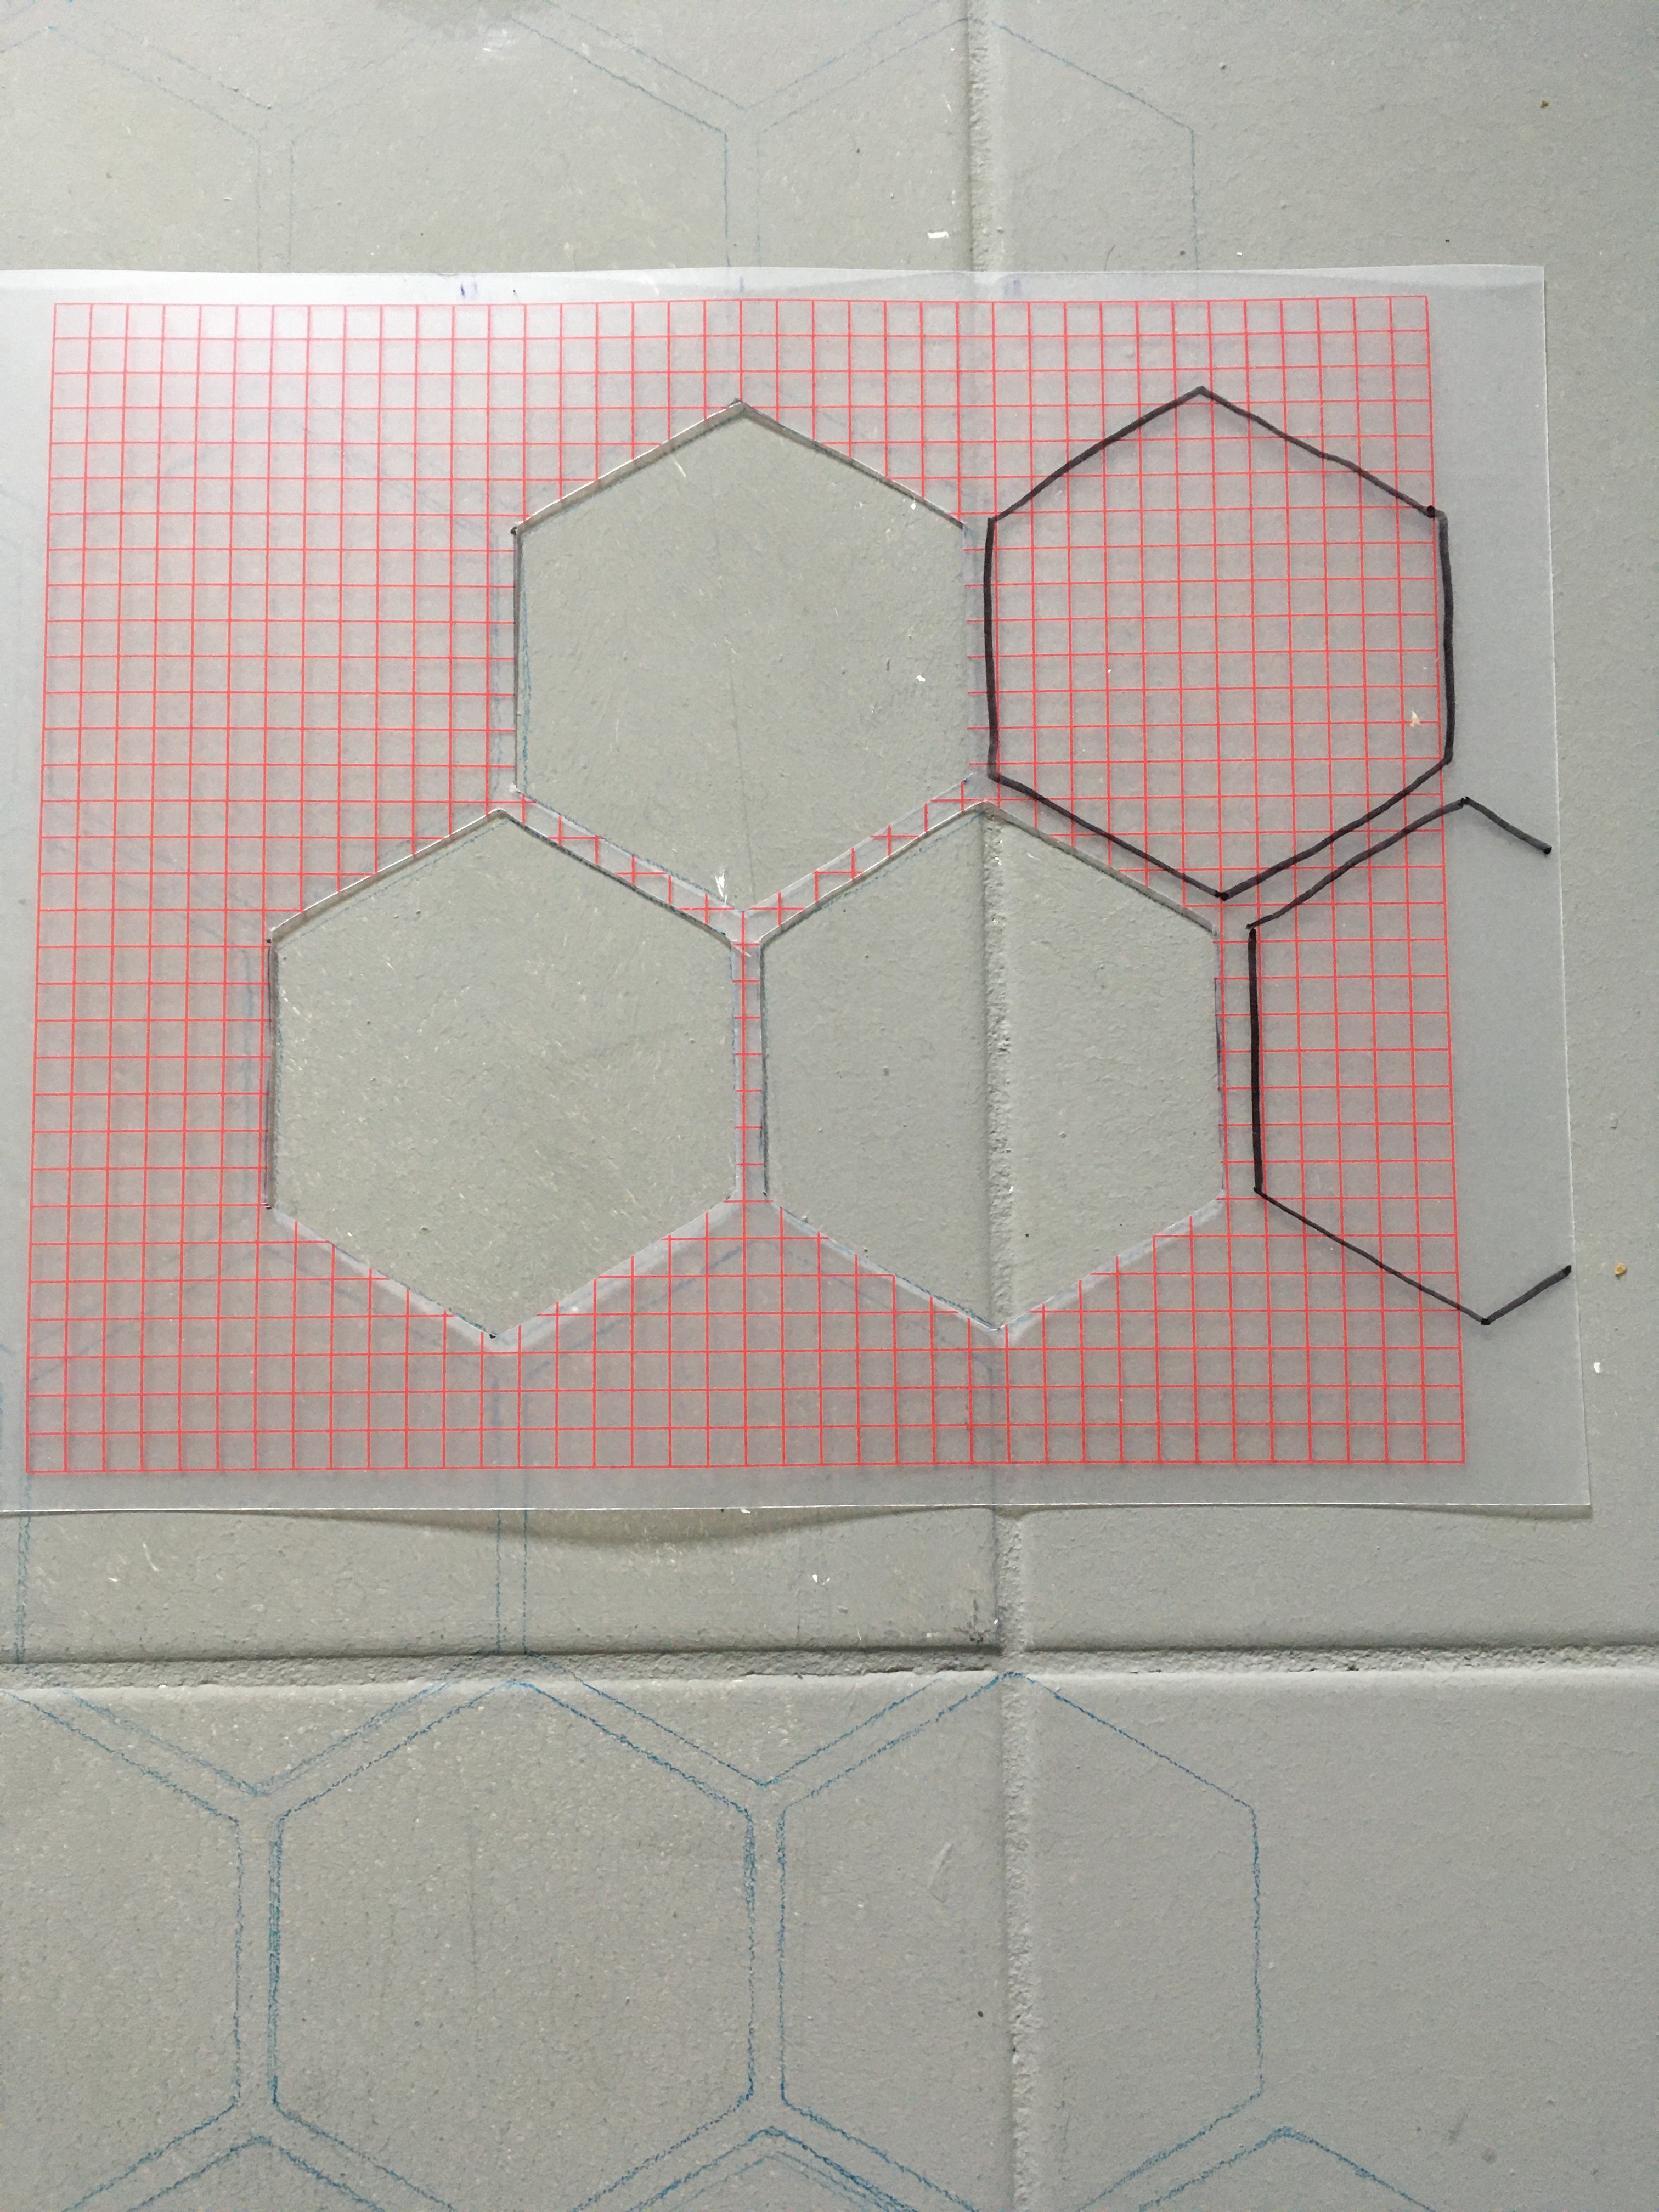
For my third attempt I calculated all the distances of the hexagon and what the spacing for the “grout” should be. I drew the pattern onto a more rigid plastic with a ruler and cut it out but again it was inconsistent.
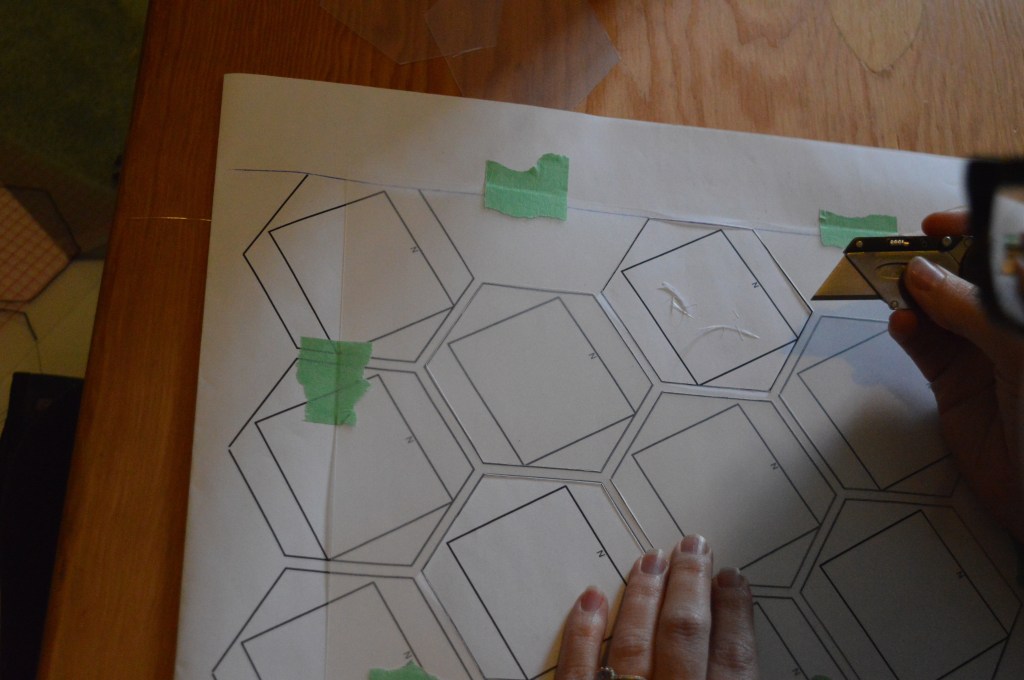
I tried searching for free online tools that would allow me to make a hexagon pattern with my exact measurements but couldn’t find any. Finally I called my husband at work and asked him to draw up a digital template that could be printed to scale. He was able to make me the pattern pretty quickly using Bluebeam on his lunch break. Once printed to scale I was able to tape my piece of plastic over it to cut out my pattern.
It’s not laser perfect, but close enough! Considering ordering a custom stencil online would have cost a pretty penny plus taxes and shipping, and waiting for delivery and it maybe being slightly off, I’m very happy with the result of my DIY stencil. There is a little bleeding but I expected that. It’s small enough that I can easily course correct if need be. It’s also durable and washable! Really, what more could I ask for?!
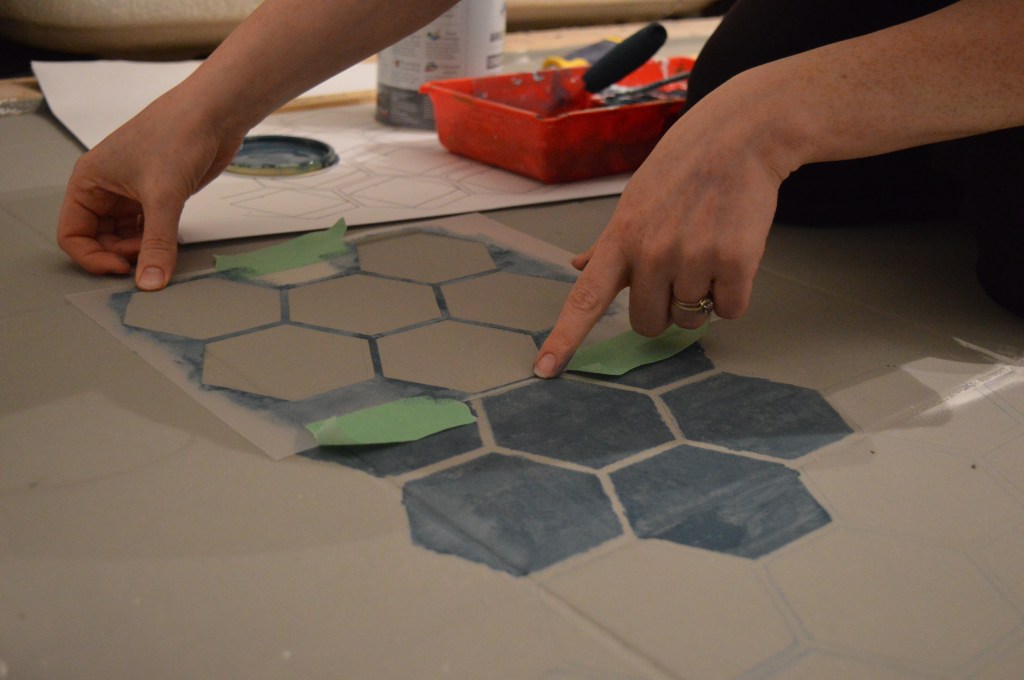
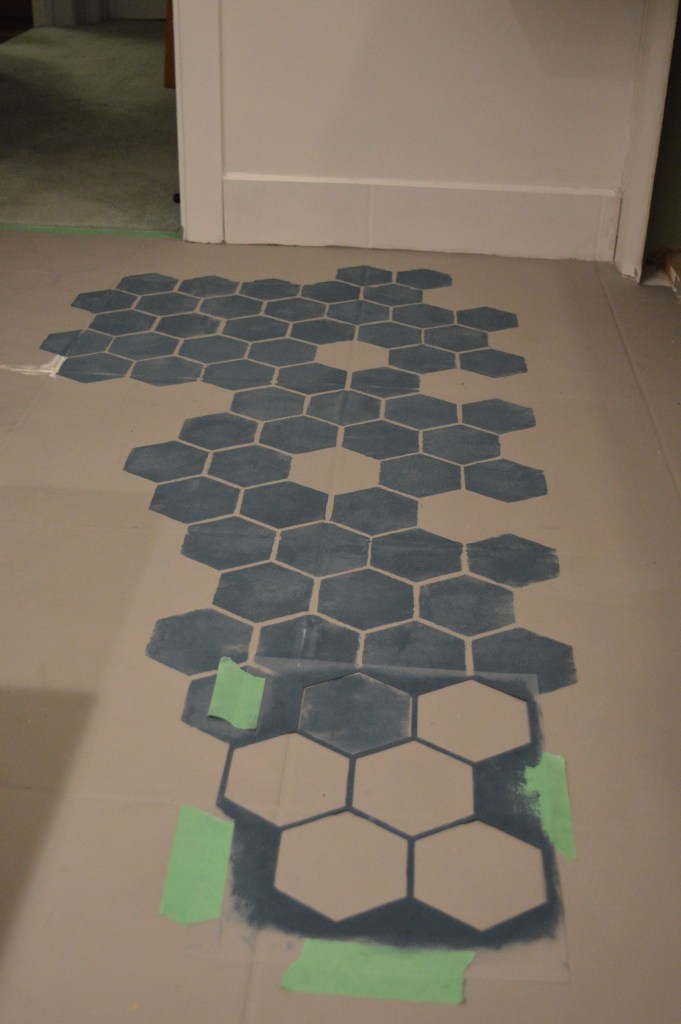
I line up my grout lines, tape the stencil in place, roll on the Annie Sloan Chalk Paint (in Aubusson Blue) and repeat.
I’ve read you should start in a corner and work your way towards the door when stenciling a floor so as to not trap yourself. I wanted to make sure the main strip down the middle was straight so I started there and am still working my way towards the edges. It’s slow moving since I don’t have a lot of time to devote to this but I am loving the look!
So here’s where the project list stands right now.
THE PROJECT LIST:
DeclutterRemove medicine cabinet and mirrorPaint the tile baseboardsMove light fixture boxPatch drywall holesSpray paint the faucetSpray paint the windowPaint the walls and ceiling- Paint tile floors with DIY Stencil
- Mount round mirror (with shelf?)
Install new light fixtureEpoxy countertopEpoxy tub surroundInstall spray painted faucet- Paint vanity (update cabinet faces?)
- Rehang shower curtain rod
Build and stain floating shelves- Install floating shelves
- New shower curtain
- New towels
- Add art and accessories
Notice I still haven’t crossed off “Paint tile floors with DIY Stencil”? There’s still so much to floor space to cover and then it will need several coats of sealant! And do you see how much more I have to do in the bathroom too?Think I can get all of this done in time for the room reveals? Be sure to follow along on Instagram and Facebook stories if you want to see!
Cheers,
Lydia
Visit each week of the One Room Challenge™ Here:
Week 1 | Week 2 | Week 3 | Week 4 | Week 5 | Week 6 | Week 7 | Week 8 |
Thanks for being here! See what everyone else in this challenge is up to at One Room Challenge™.

Please visit ONEROOMCHALLENGE.COM to view all participating Featured Designers and Guest Participants.

Wow…. you were REALLY determined to get that hex-tile floor, weren’t you?!? I’ve always amazed by your creativity and design aesthetic, but THIS takes the cake! Totally impressed!!!
LikeLike
Thanks Shena!! I’m so happy with how it’s turning out!
LikeLike