
If you want to bring some character to a wall then I highly recommend this easy DIY Grid Board and Batten tutorial. There are lots of these tutorials out there, but I want to break it down really simply. It’s not as hard as you may think and can be done quite inexpensively! Especially if you have a non-textured wall like I did, you can skip the board part all together and just install the batten for the look.
I love quick and affordable DIYs that make an immediate and big impact on the space. Let me tell ya, this one certainly delivers. This wall treatment cost under $200 (CAN) for a 10ft wide area with 8ft ceilings and it only took one day’s work with these 12 easy steps!
Pay special attention to the tips in each step below. Those are helpful lessons I learned on the job that I want you to avoid learning the hard way.
What You’ll Need
- Measuring Tape
- Mitre/Circular Saw
- 11 8ft long 1×3 primed Pine slats
- Nail gun and nails
- Level
- 2 Tubes of Paintable Molding and Trim Caulk
- 1 Small Tub of Spackle
- Sand paper/sanding block
- Paint of choice
Step 1
First things first, measure your wall and decide how many columns and rows you want. There are a lot of people who will give you mathematical equations to determine your spacing. I just used this free online calculator I found through a quick Google search.
TIP: Don’t forget about your baseboards; only use the distance from the top of your baseboard to the ceiling for your row spacing.
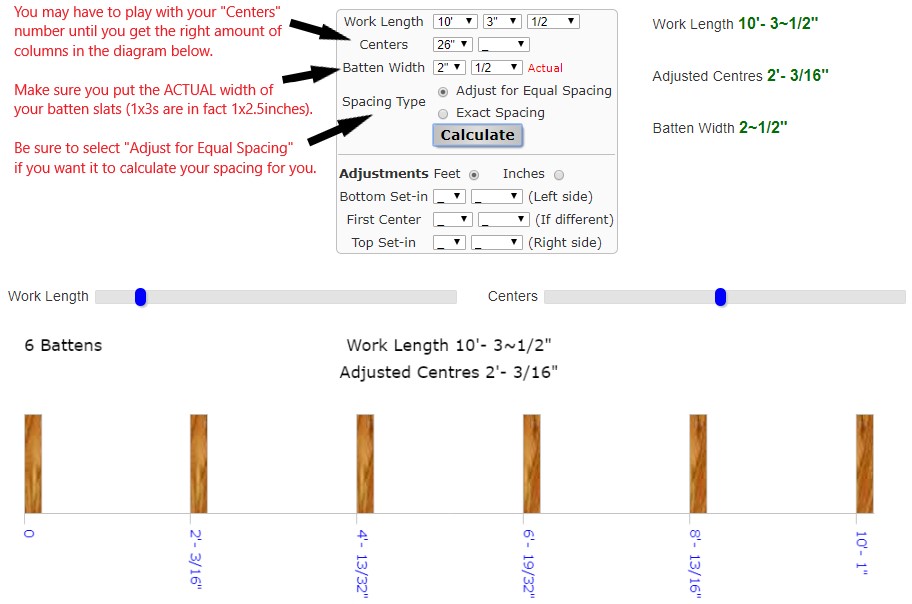
You can play around with your variables (like your batten width) and adjust your desired center length until the diagram shows the number of columns you want. Make sure you use the actual width of your batten slats; 1x3s are in fact 2.5 inches wide and the extra half inch can throw your spacing way off. Also select “Adjust” if you want the calculator to tell you how to space your battens perfectly.
TIP: It’s important to note where your electrical switches and outlets are and make sure your battens won’t cover or fall too close to them. It’s also crucial to keep your furniture in mind at this planning stage. You can use tape to map out where your boards and battens will fall and decide if you want to make adjustments before you proceed.
Step 2
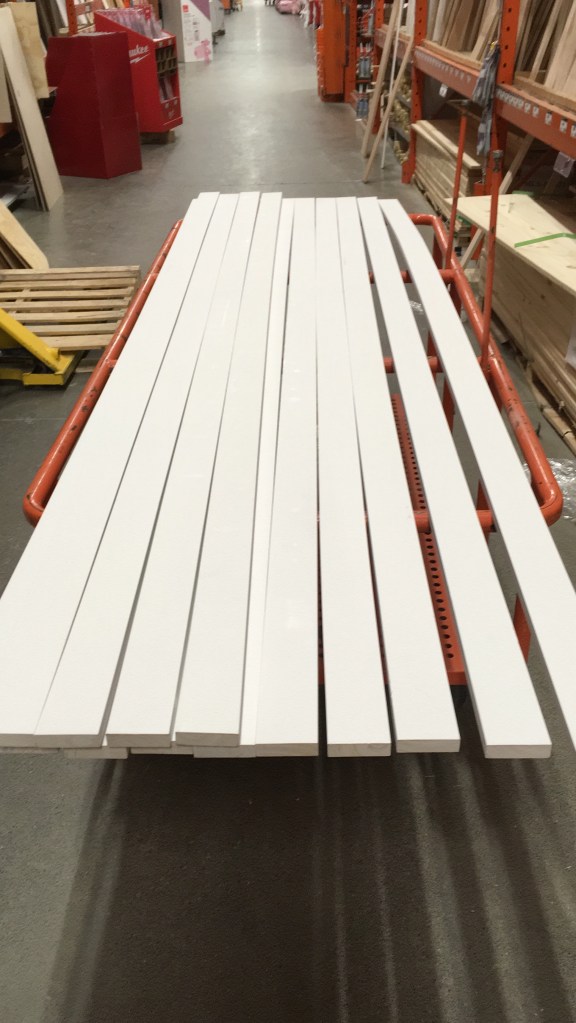
Once you know how many battens you’ll need, you can buy your wood. We went with primed pine to speed up the process. This was the biggest expense of the project. You could use a different cheaper wood option and still achieve the same look.
Buy a few extra in case of error. You can always return them if you don’t use them.
TIP: Take your time selecting your slats and make sure they are not warped. I like to go to the hardware store late at night during the week because it’s less busy and I don’t feel rushed to make my selections.
Step 3
Use the tape measure and level to mark where the side of your vertical batten will go with a long straight pencil line. Measure to make sure all of your centers are equal.
TIP: Triple check your marks and measure again as you put each piece up to confirm you’re on track. If the spacing is off on one batten that will throw two center columns off and be distracting to the eye.
Step 4
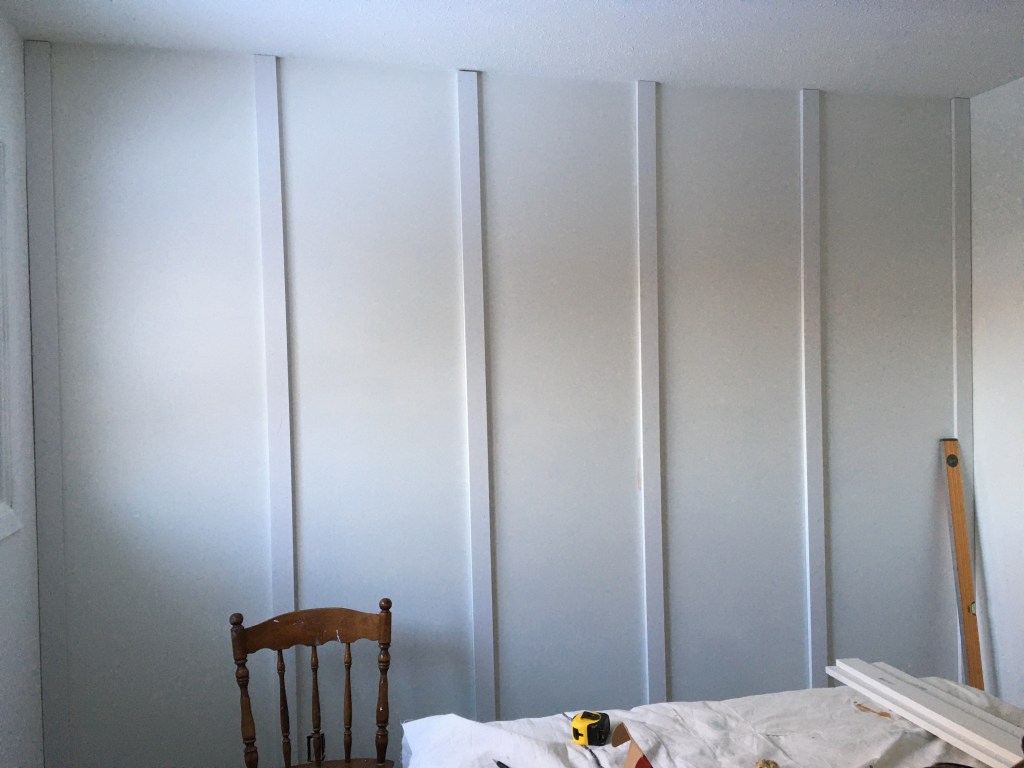
Get your nail gun and get those battens up! Make sure they’re on your level guideline and butted right up to the ceiling (if your wall is 8ft tall that is).
TIP: If you don’t have a nail gun you can use a wall adhesive.
Step 5
Mark out where you want your horizontal pieces using a level. It’s important for everything to be as level as possible so that it’s pleasing to the eye. That said, sometimes what’s even more important than the level is the next relative point.
You may discover that your corner isn’t square, the ceiling is warped or the floor is slanted. Or maybe you’ve got all three!

TIP: Sometimes adjusting your pieces slightly off level will compensate for those imperfections so the eye doesn’t feel like everything is level but that one aspect.
Step 6
Measure the column centers to confirm how long your horizontal pieces will be. They may be slightly off so it’s best to measure twice and cut once.
Make your cuts with your saw and use the nail gun to get your horizontal pieces up!
TIP: Even after measuring twice your cut pieces may be millimeters off due to the size of your blade. Just try to find the best spot for each piece. It doesn’t have to be tight but close enough that the caulking will cover the junction.
Step 7
Install your baseboards! Put scrap pieces of batten along the bottom first so that you have some behind the baseboards to nail into.
Step 8
Caulk all of the edges: the inner corners of each rectangle, the ceiling, the wall corner, the baseboards. This is honestly the best part! It makes everything look polished.
There are smoothing tools that you can buy but you can also just use your finger and a baby wipe. Be sure not to press too hard so it doesn’t ooze all over the battens.
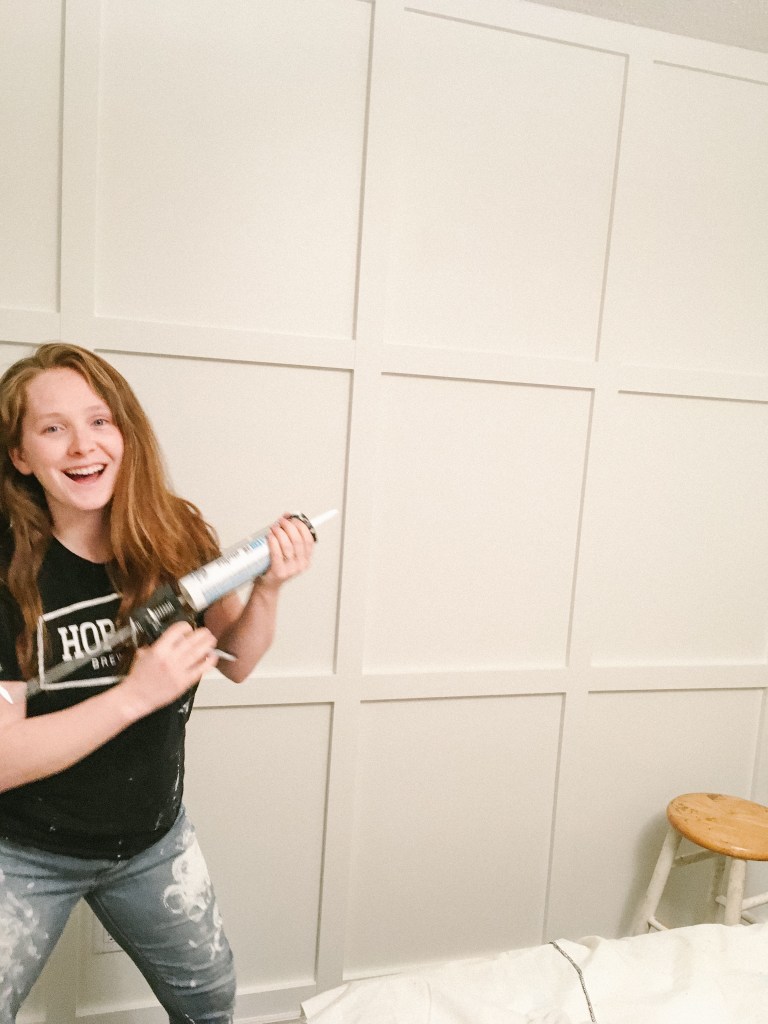
TIP: Make sure you know how to disengage your gun so you don’t have a steady stream continuously coming out. Trust me, it can get messy otherwise.
Step 9
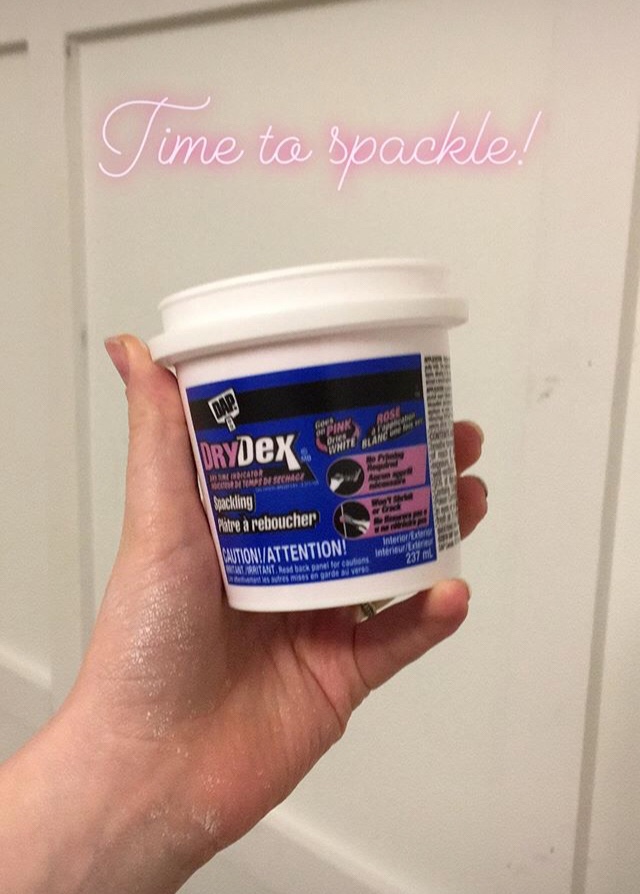
Spackle those nail holes. It may seem tedious but it’ll be worth it.
TIP: You can use a small trowel if you want but it’ll go much faster if you just use your finger. Get the kind that goes on pink but dries white to be sure you give it enough time to fully harden.
Step 10
Sand the spackled spots and any other rough patches.
Step 11
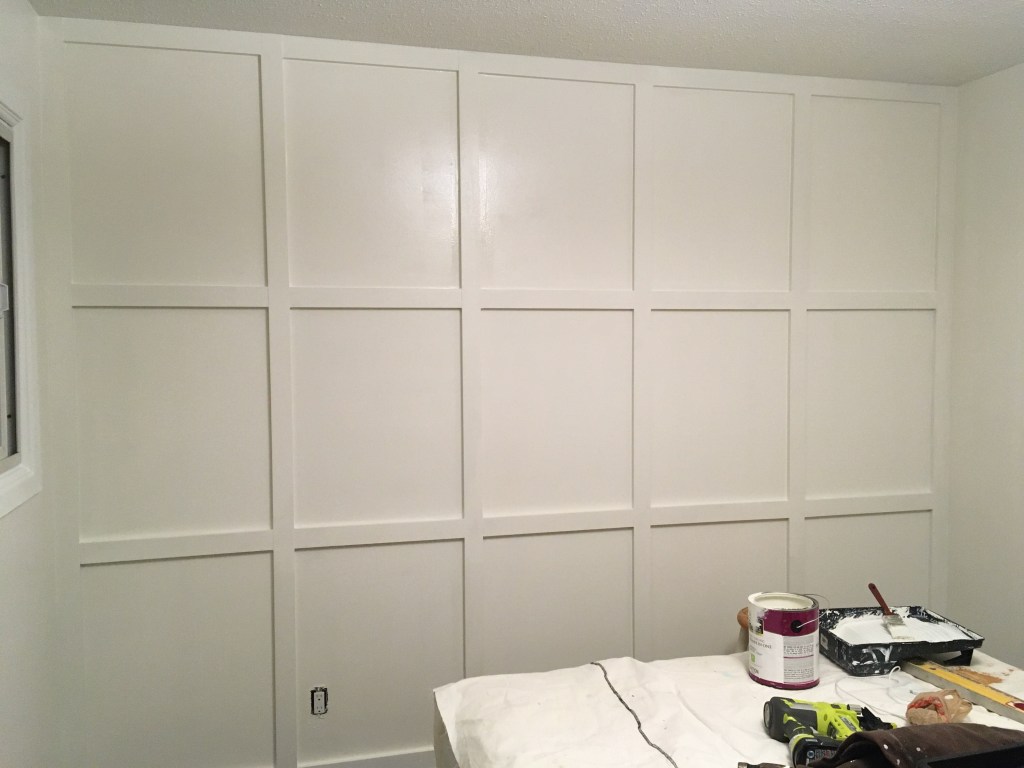
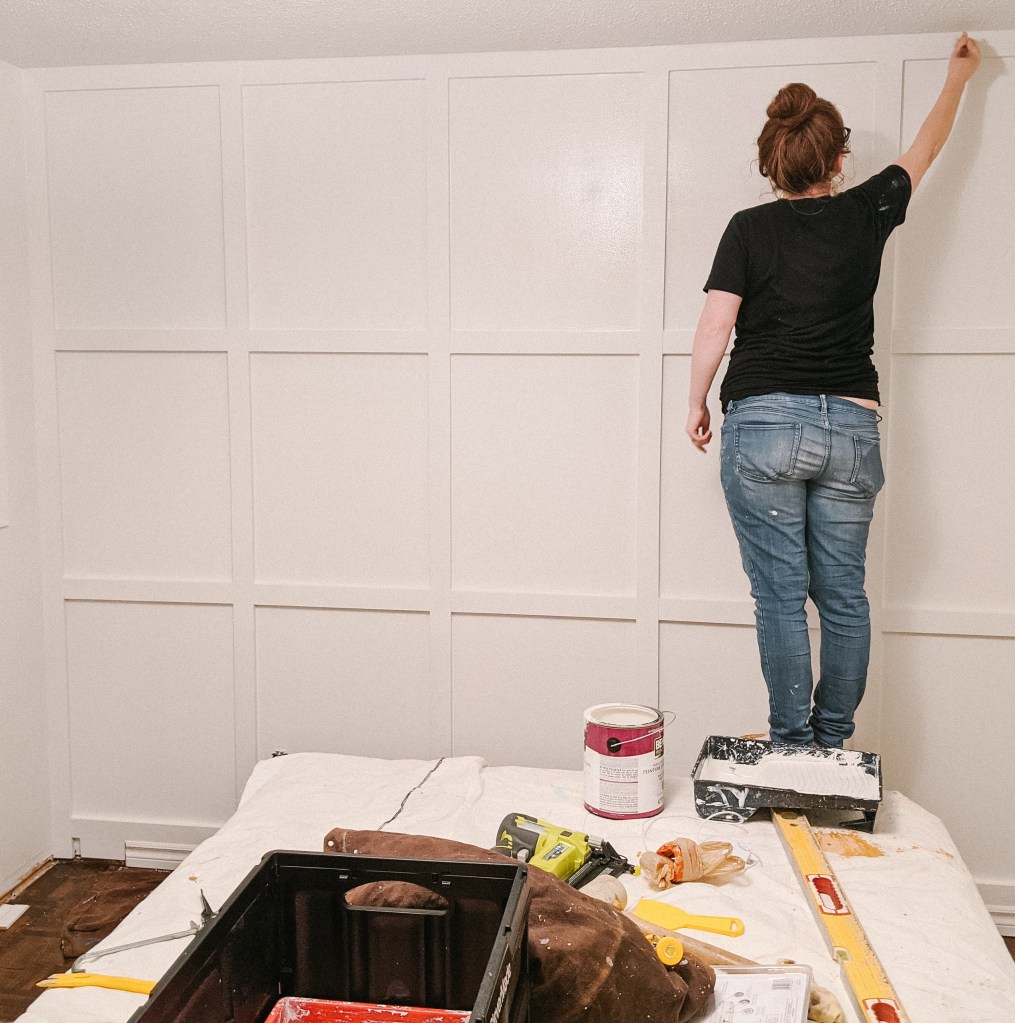
Roll and brush on your paint.
Step 12
ENJOY!
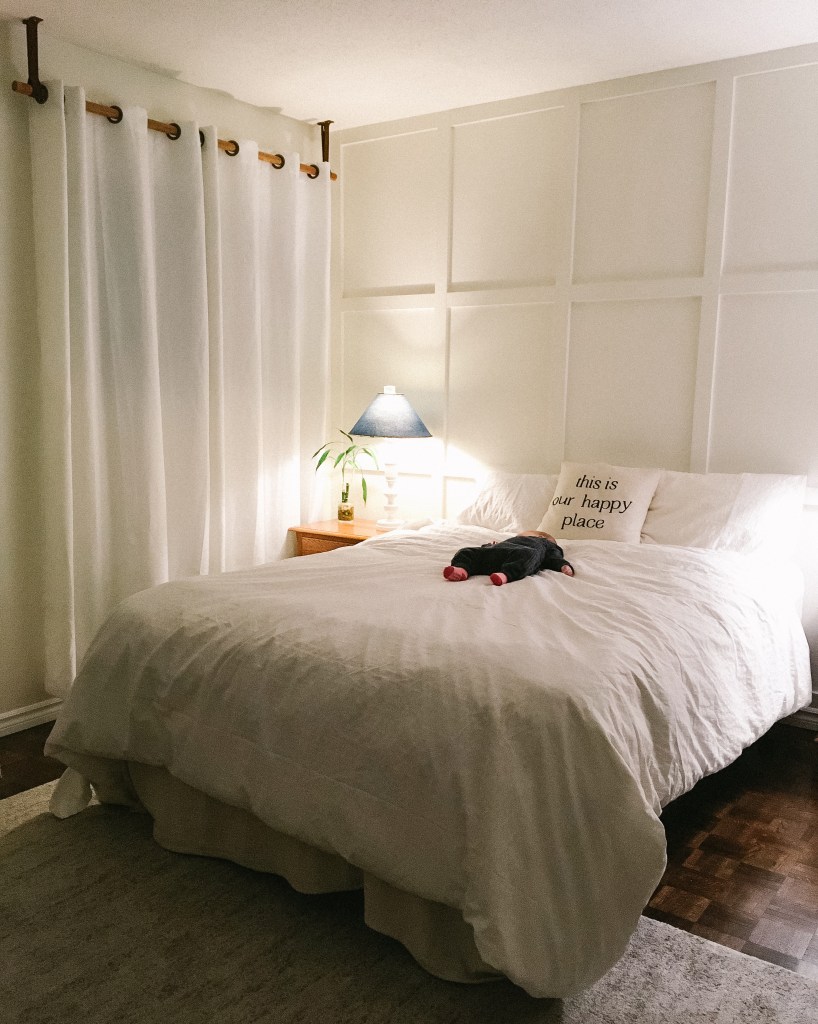
It’s that easy. And the effect is incredible. It really transforms the space and makes it so much more chic and visually interesting.
Good luck! Let me know if you have any feedback or questions.

I know I’ve already told you this, but I really DO love how your room turned out! Well done, you!
LikeLiked by 1 person
Thanks so much Shena! 🥰
LikeLike
Wow, GREAT tutorial. So clear and thorough and helpful! And of course the end result – GORGEOUS. I am bookmarking this for sure!
LikeLiked by 1 person
Thanks Veronica 🥰 You can do it too!
LikeLike
Did you use a flat or semi gloss paint on the wood and walls? What colors did you use?
LikeLike