This week for the One Room Challenge it was finally time to tackle my grandmother’s old couch.
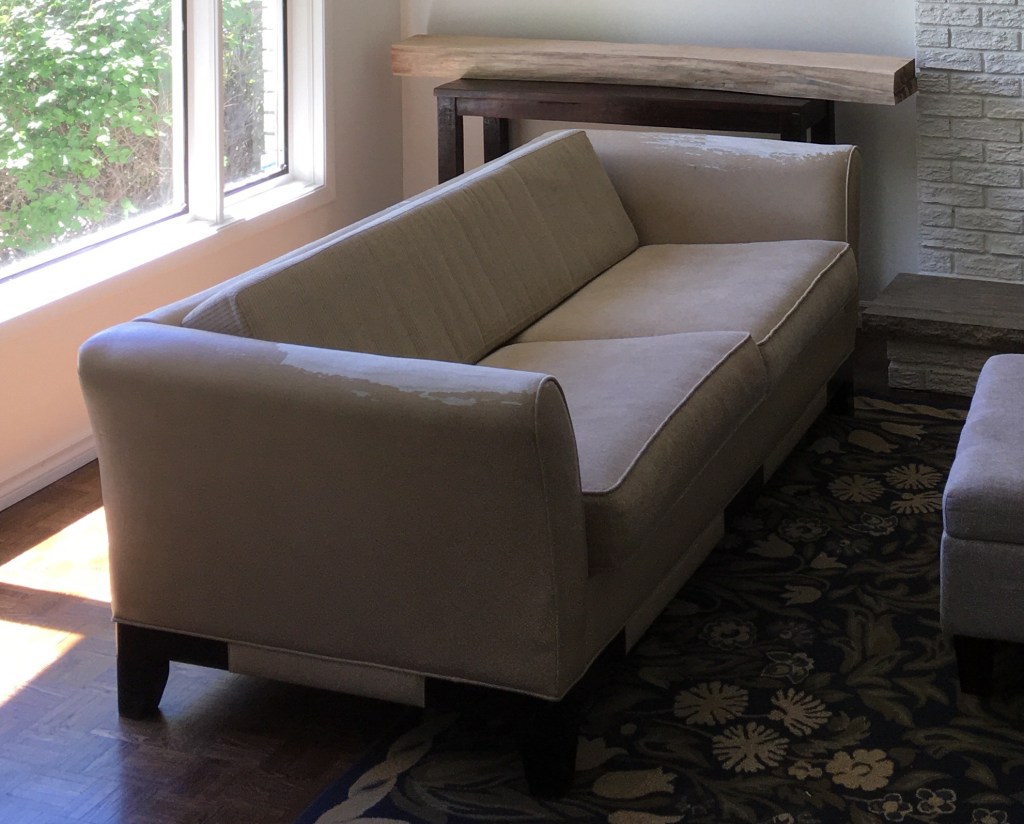
It has great lines, is comfy and fits the space well but the pleather on the armrests are super worn and peeled. I had another couch that we could have used but I found it was too big and bulky and blocked so much of the window so I decided to try to salvage my grandmother’s couch instead. I spent lots of time online looking into possible fixes.
Since the pleather was peeling I knew painting it wouldn’t be a lasting solution. I looked up local upholstery companies but knew that would be incredibly expensive. There are a ton of stretchy slipcovers that claim to fit any shape of couch but the reviews on those weren’t great. I wanted to preserve the lines of the couch as much as possible so I looked into fitted slipcovers that you can get. Some are ready made for specific makes and models of couches but my couch didn’t match the profiles of any others so I knew if I went that route it wouldn’t fit just right. There are also services you can find online that offer custom slipcovers – all you have to do is upload pictures of your piece along with lots of dimensions, pick your fabric and material and they make the slipcovers for you. I didn’t want to go that route because I knew it would be expensive and I’d probably have to wait a long while for them to arrive.
I figured I should look up how to DIY a couch slipcover to at least see how complicated it would be. I discovered a whole bunch of how-to videos and felt like it was totally doable. Many DIYers also suggested using dropcloth as material because it’s durable and cheap.
I had a vision in my mind of what could be but knew my very limited sewing experience wouldn’t do it justice. I tried to simplify the design as much as possible and called my mom to consult. Being the amazing woman that she is, she agreed to help me with this project and teach me a few things along the way.
Bleaching the Dropcloth
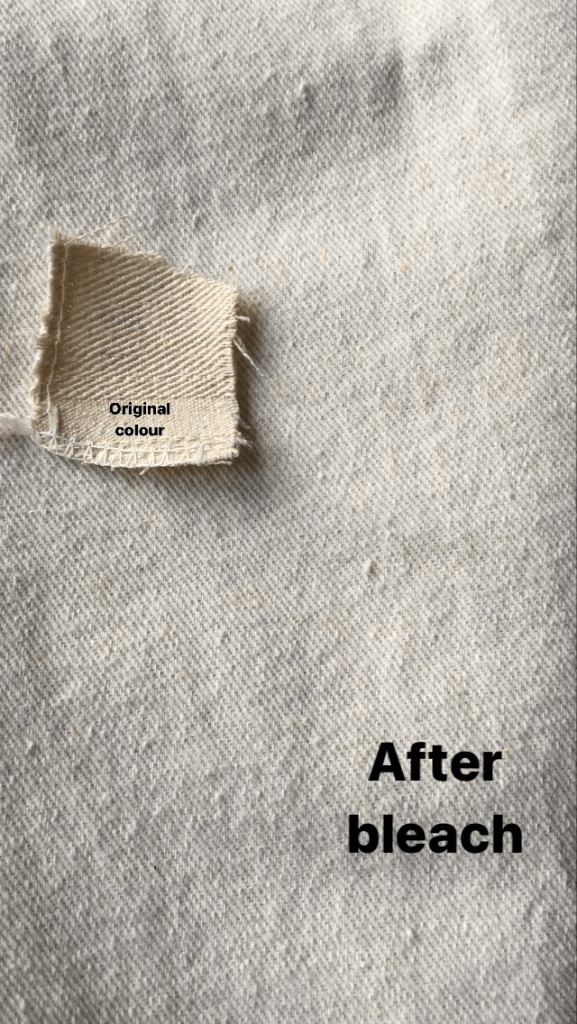
Before threading any needles, I first had to prep the material. I ordered five 4×12 sheets of pure cotton dropcloth as I had taken measurements of my couch and determined this should be more than enough to do the job. It comes in a beige colour and is quite stiff straight out of the package. I knew I would have to wash the material to shrink it but a bunch of bloggers who had done this before recommended bleaching the dropcloth to lighten it and soften it too so it’s easier to work with.
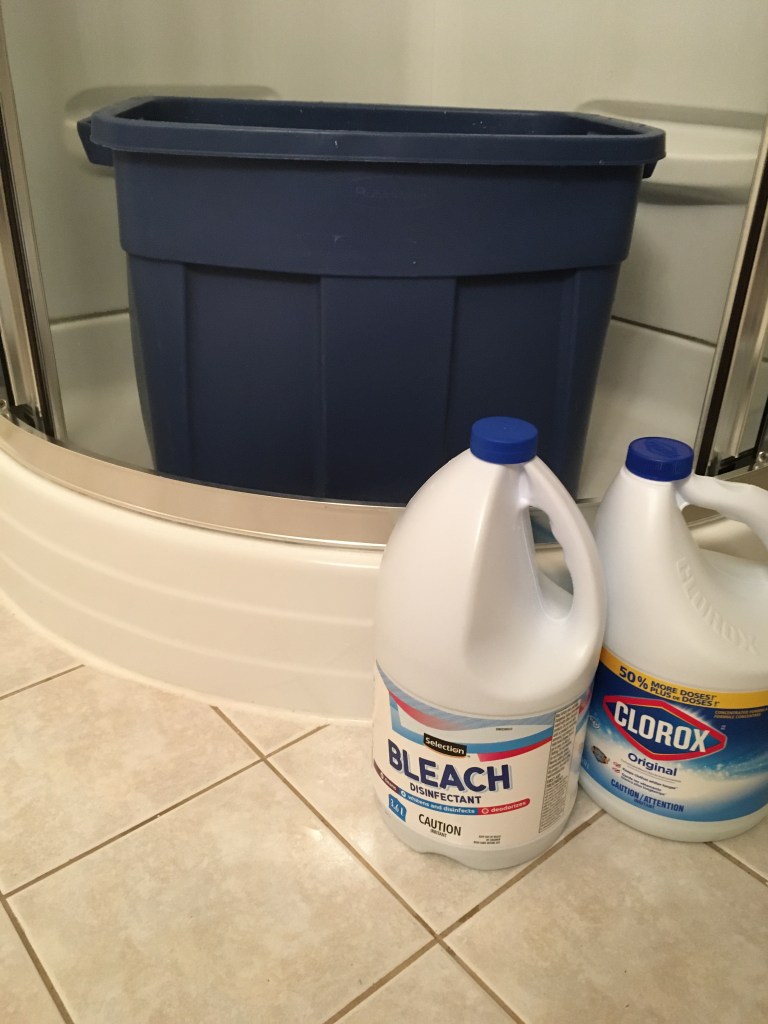
Typically the bleaching process is done in a top loading washing machine, but I don’t have one so I made a storage bin in my basement shower work. I don’t have exact measurements to offer you, I just filled the bin to a level I thought would cover 2 dropcloths at a time and added about a whole bottle of bleach to that. I left the dropcloths in the water and bleach mixture for approximately 8 hours and agitated the material about every hour to make sure there wouldn’t be weird blotches.
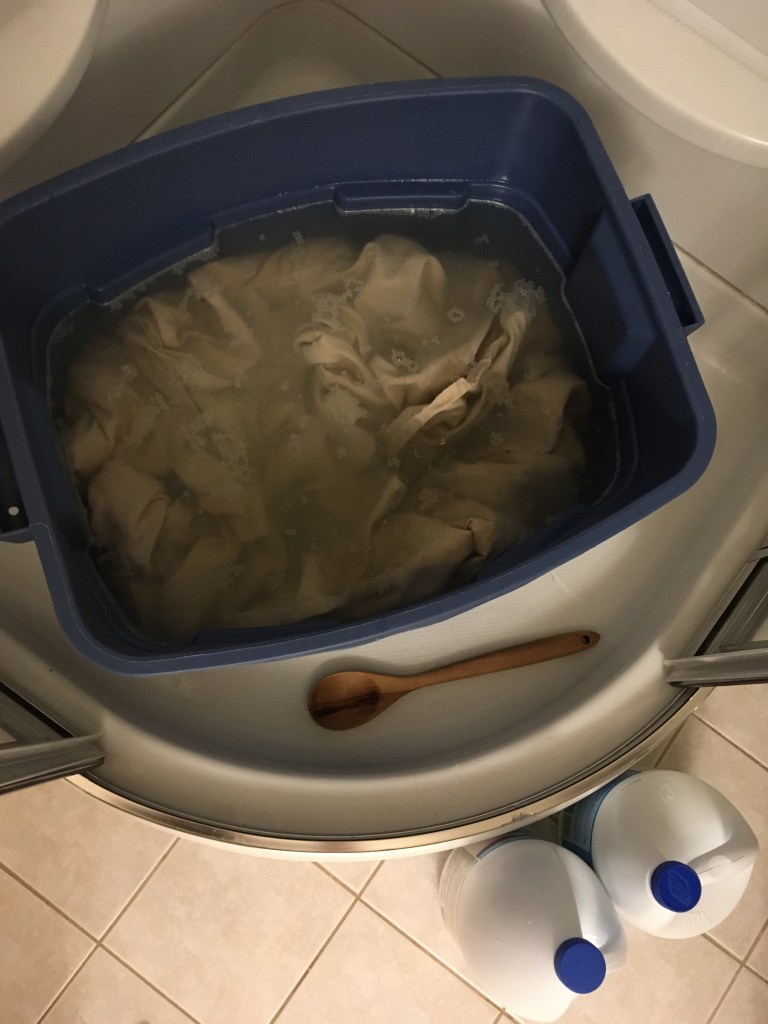
Full disclosure: there are some weird blotches in some spots but I tried to avoid using those in the slipcovers and am hopeful those might balance out when I bleach/wash them in the future.
After bleaching, I transferred the dropcloths to my washing machine for a good rinse cycle and then a wash cycle with fabric softener. Then into the dryer and out came soft white-ish dropcloth material ready for sewing! I say “white-ish” because they didn’t come out a bright pure white but they are definitely lighter than before.
Also note, make sure you empty your lint trap because the dropcloths make a lot of lint!
Box Cushions
The first thing my mom and I decided to tackle was the cushions. I don’t have a lot of pictures of the whole process and I’m sure there are better blogs out there with more detailed steps but I’ll try to explain our process in brief.
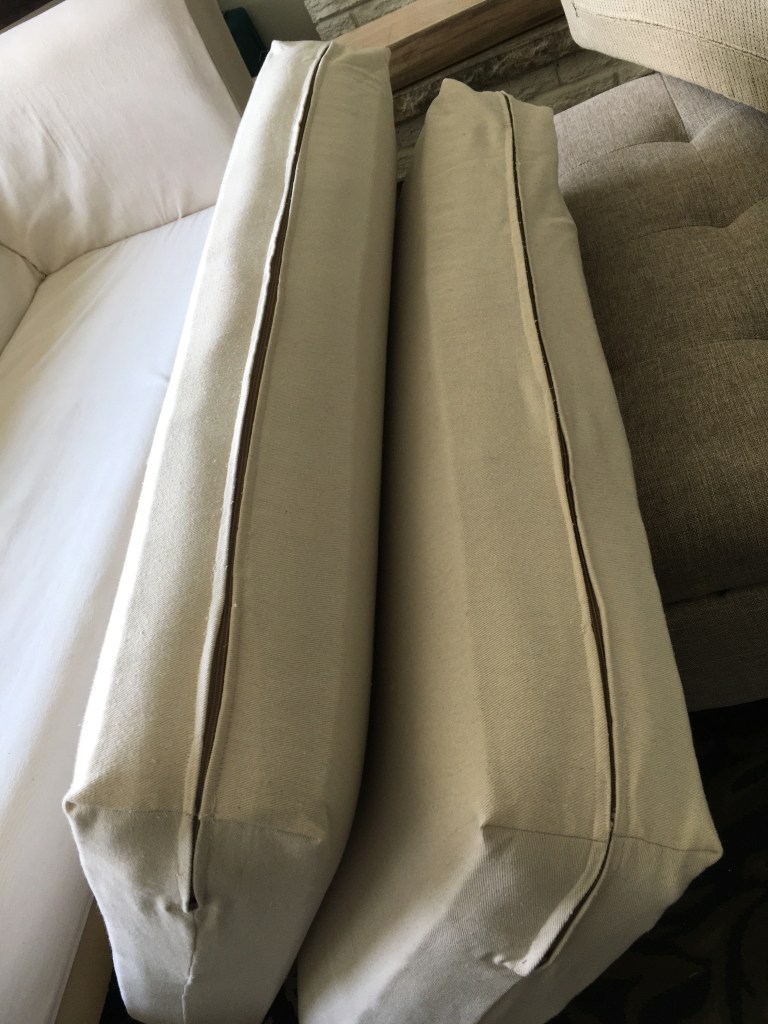
We wanted to avoid cutting too much and adding seams and piping so we decided to try and make our covers as simply as possible. Since the edges of drop cloth are not square, (meaning you can’t line up the edges and corners to find your midpoint) we picked a midpoint in the material to be our straight that would go across the top of the back cushion and drape over the front and back leaving enough material to also meet in the middle at the bottom. Sort of like wrapping a gift. With the material inside out, we used a drywall T-Square to draw our seam line down the side perpendicular to our midpoint straight. After sewing straight down the one side, we measured the corner of the existing cushion cover and marked that along the axis where the corner would be, making sure the seam we just sewed was dead centre and then we cut off the excess triangle of fabric.

Not sure if that’s making any sense but once we had one corner we would test it inside out on the cushion and mark the other side and repeat the process.
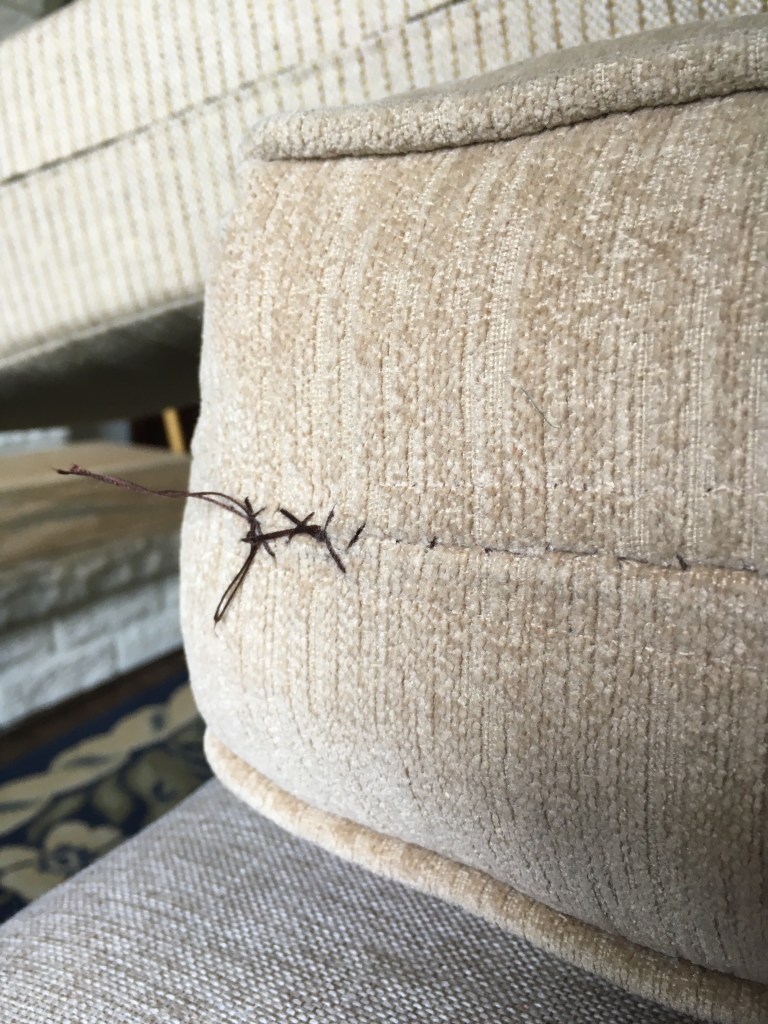
I initially thought we would just fold the bottoms and pin them in place but once I saw how well things were going I thought maybe we could take these to the level with zippers. I didn’t buy any zippers for this project and my mom didn’t have any extra in her stash that were the right size so I picked the zippers off the existing covers, hand sewed those openings shut and we sewed the zippers onto the dropcloth covers.
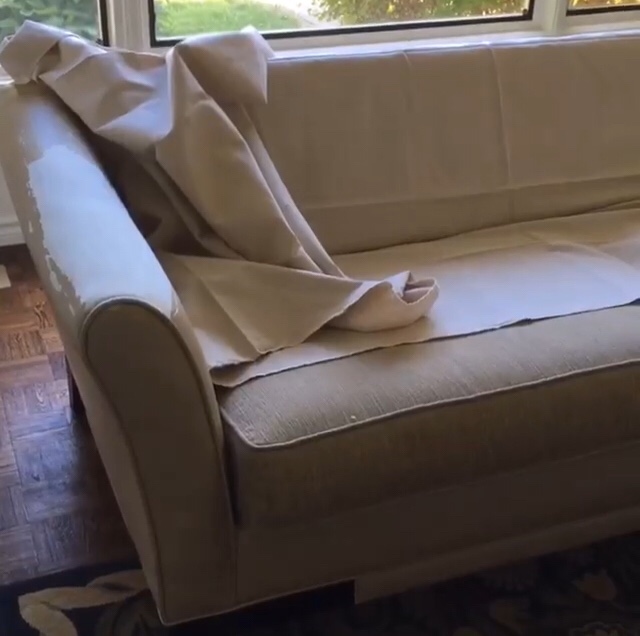
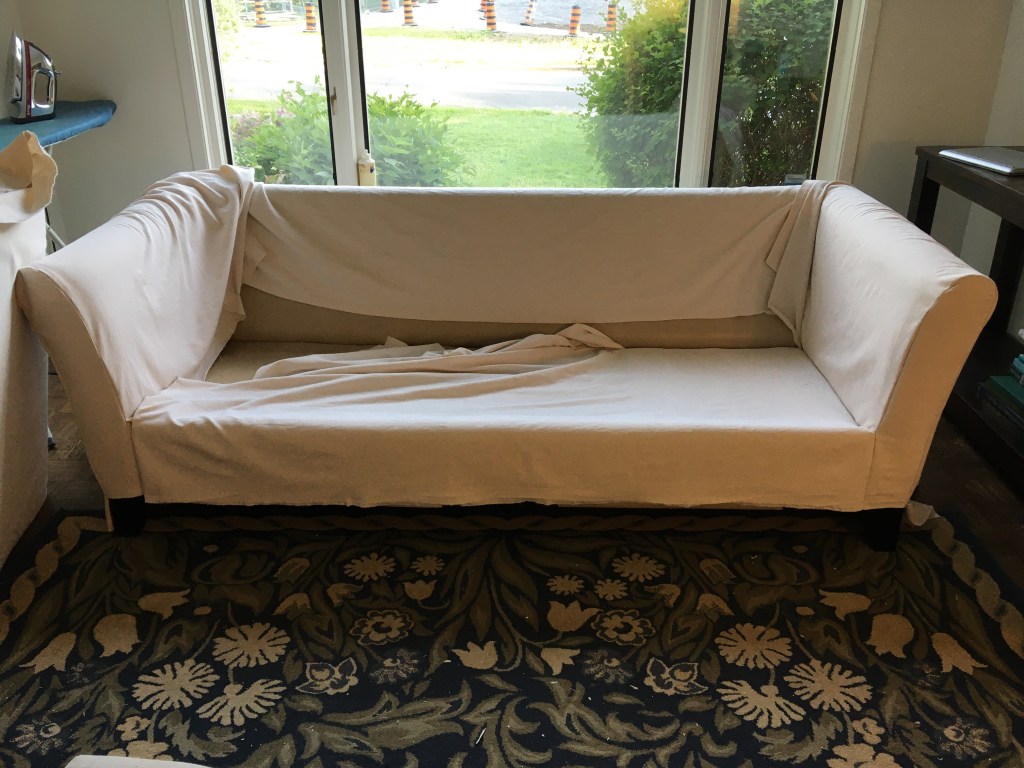
Fitted Slipcover
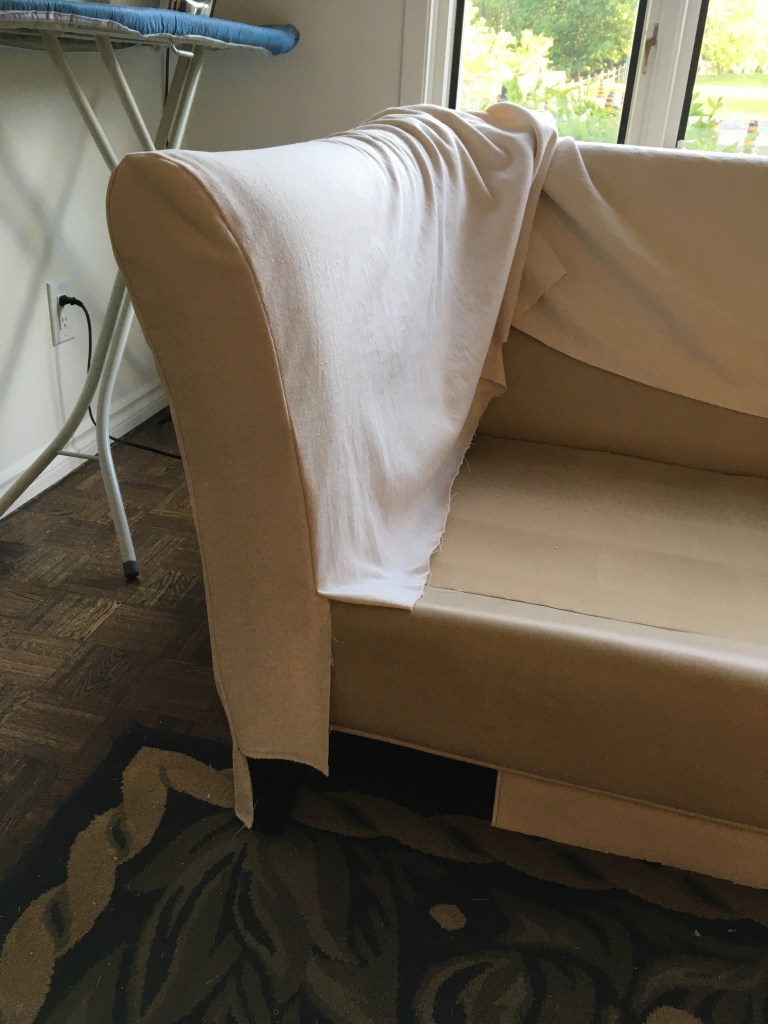
Now for the couch frame and armrests. Initially I thought maybe we could just throw the material over the couch, fold and tuck the excess into the crevices and call it a day. My mom was confident we could do better, so we decided to try and at least sew nice fitted covers for the armrests.

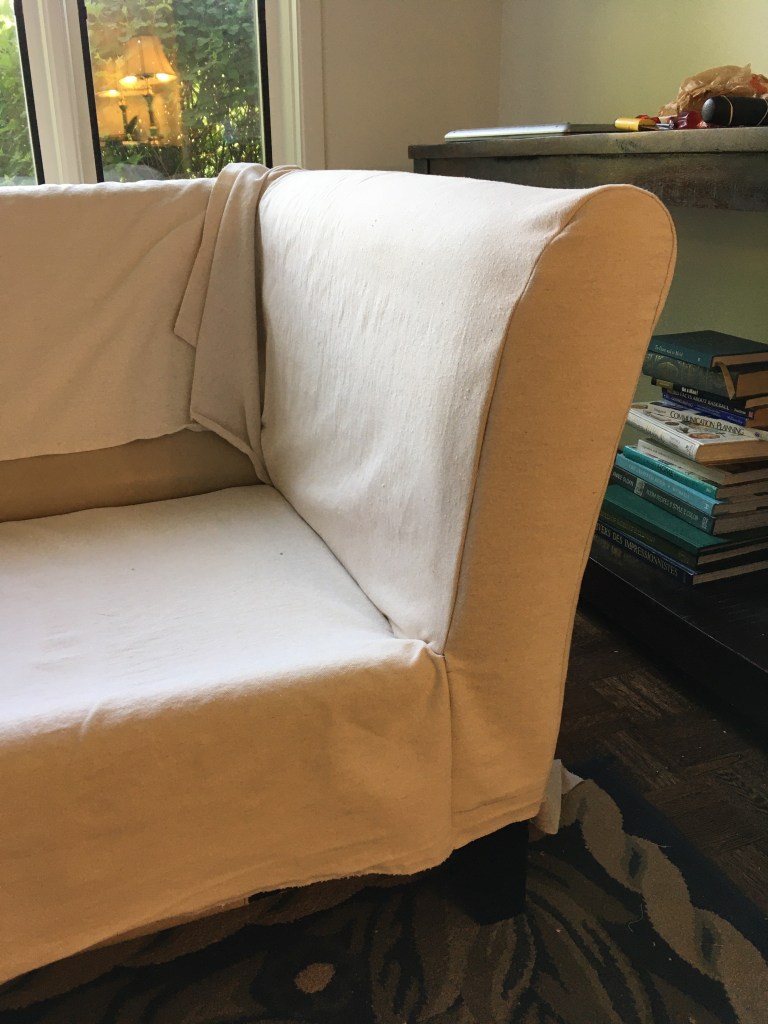
Using some brown paper we traced the front of the arm to make sure we would get the right curve. We traced that template onto our material and cut a half inch around that outline to allow for the seam. We sewed the material that would drape over the arm to that front piece and voila!
There was lots of testing it on the couch inside out, pinning, sewing, testing again, picking stitches, repinning, sewing again but it was all worth it.
We repeated that same process for the other arm and since that went so well we decided we could try to make it even more fitted by sewing down two folds at the back.

Then we connected the two armrest pieces to a front piece that would also cover the bottom under the cushions. We purposefully left enough material on the bottom at the sides so we could tuck it into the couch crevices to help keep it in place.
This too required a bunch of testing on the couch inside out and pinning and walking the whole thing carefully over to the sewing machine on the dining room table.
Once the whole front and bottom were covered all we had to figure out was the back. Attaching the back piece to the inside where the cushions would be was pretty straightforward since we just had to join it to the inside back of the armrest and bottom front pieces. Again leaving a little extra material for tucking.
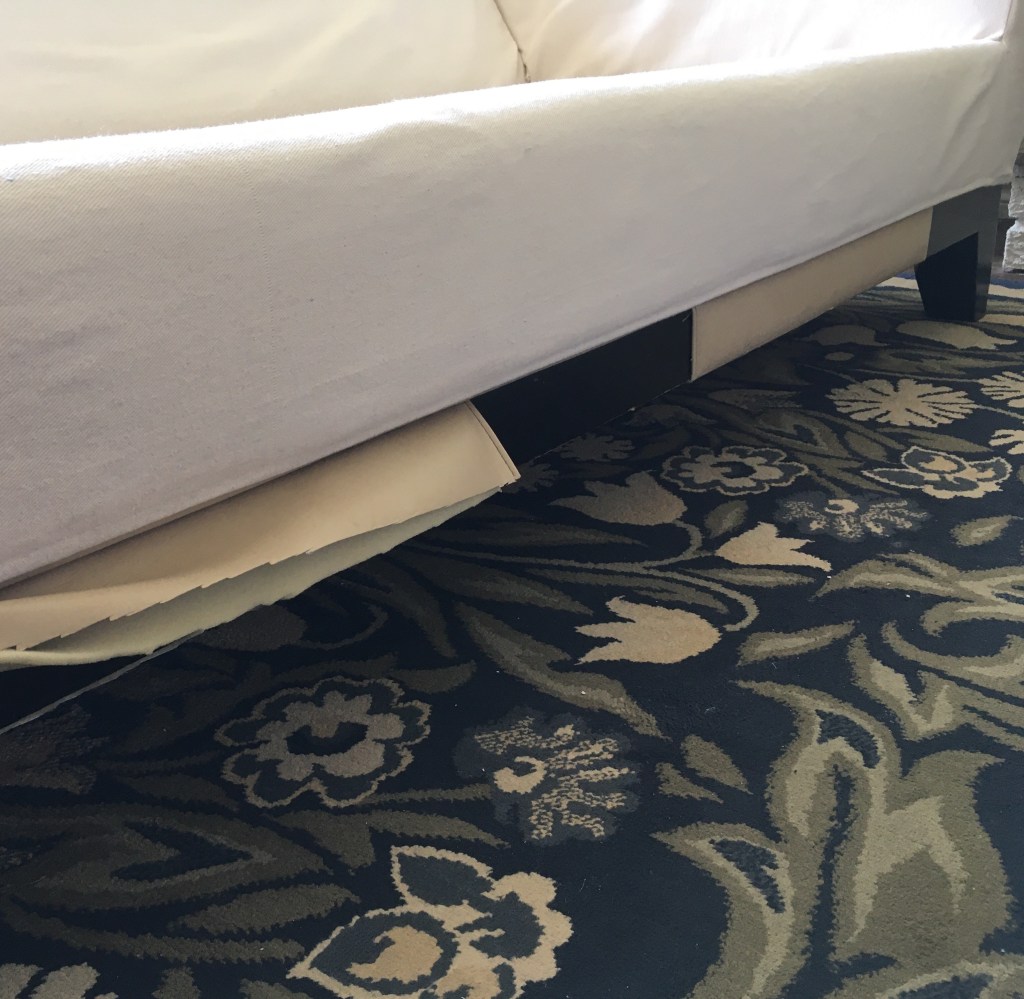
Since the bottom is tapered compared to the top and I wanted this cover to be easy to remove, I knew we couldn’t sew the whole thing and had to have a flap at the back.
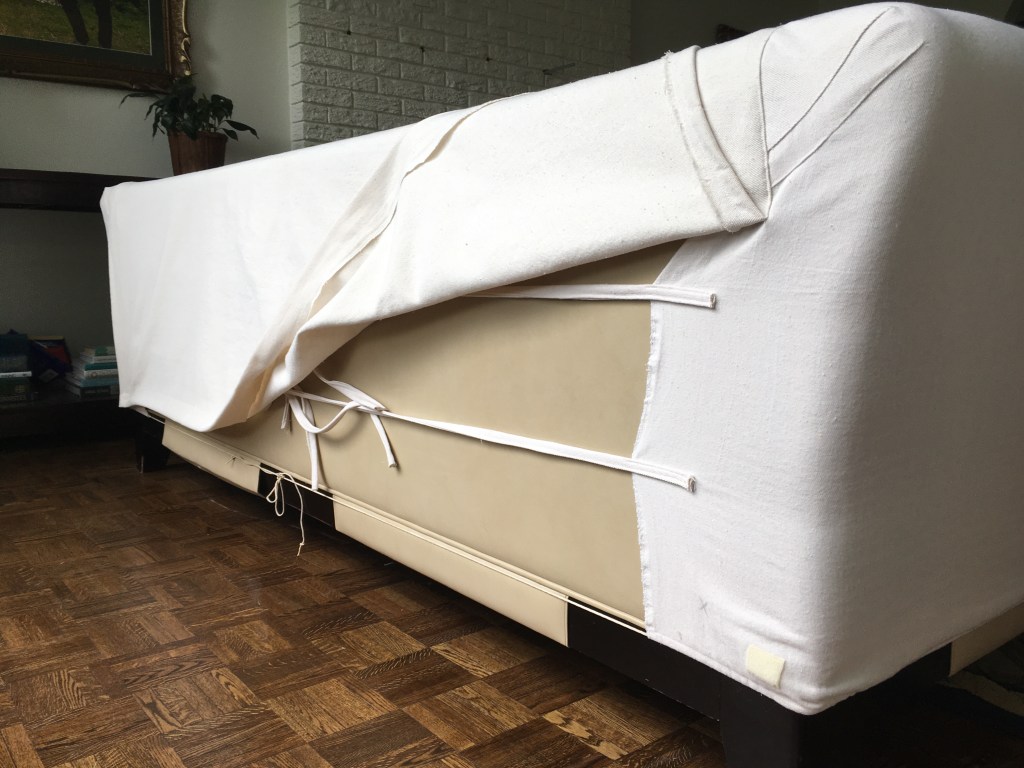
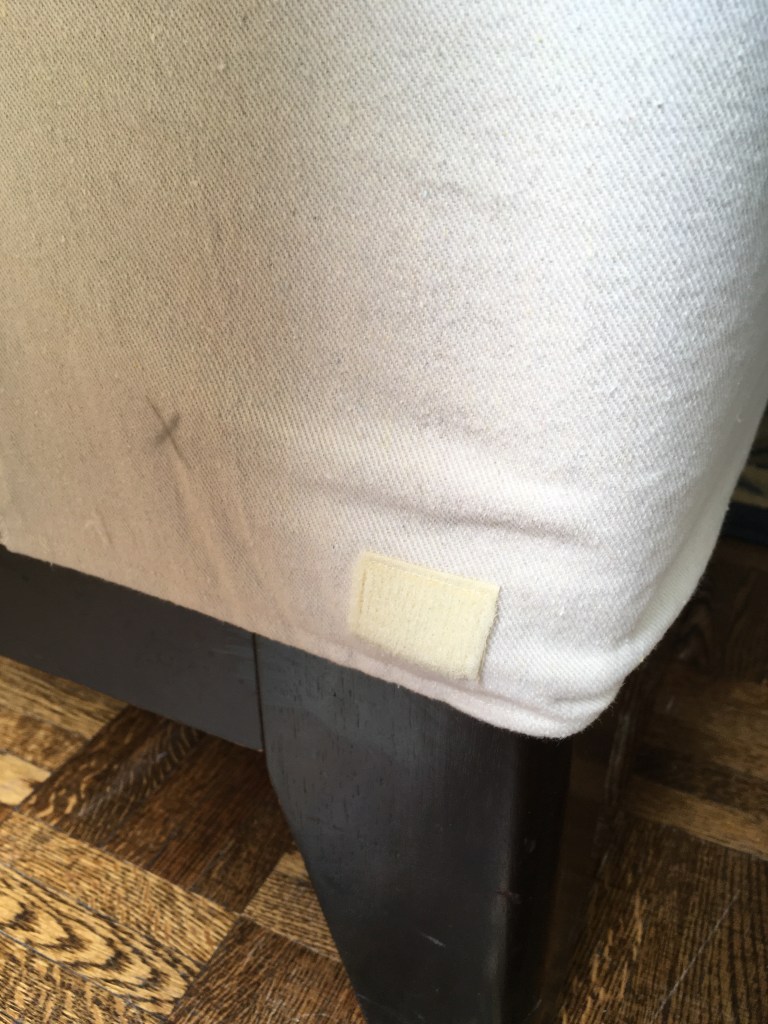
In order to have the armrests still be snug though we made some straps out of the dropcloth and attached them to the back of the armrest pieces so the sides could be pulled taut and tied to each other. Those ties would then be covered by the back flap. We added velcro to the bottom corners to keep the flap in place
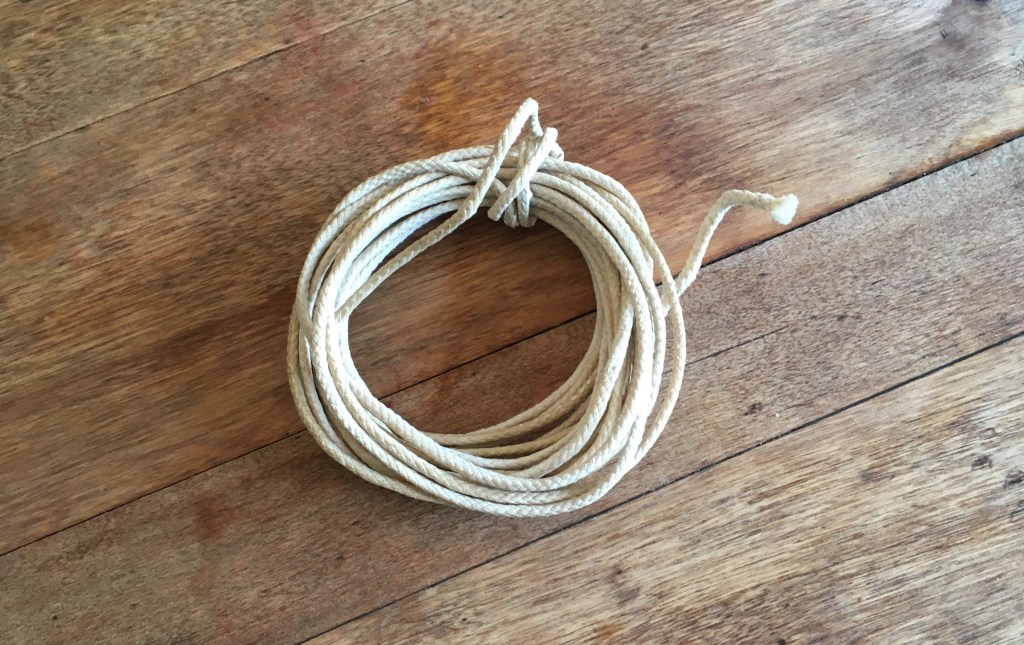
To finish off the bottom I thought I would just remove the wood leg base and tuck the material under the couch but that would make removing it more cumbersome. My mom suggested we hem a string into the bottom of the slipcover just under the existing piping so that too could be pulled taut and stay in place. Thankfully I had the perfect string for the job from the curtain system we had removed from the living room. Waste not!
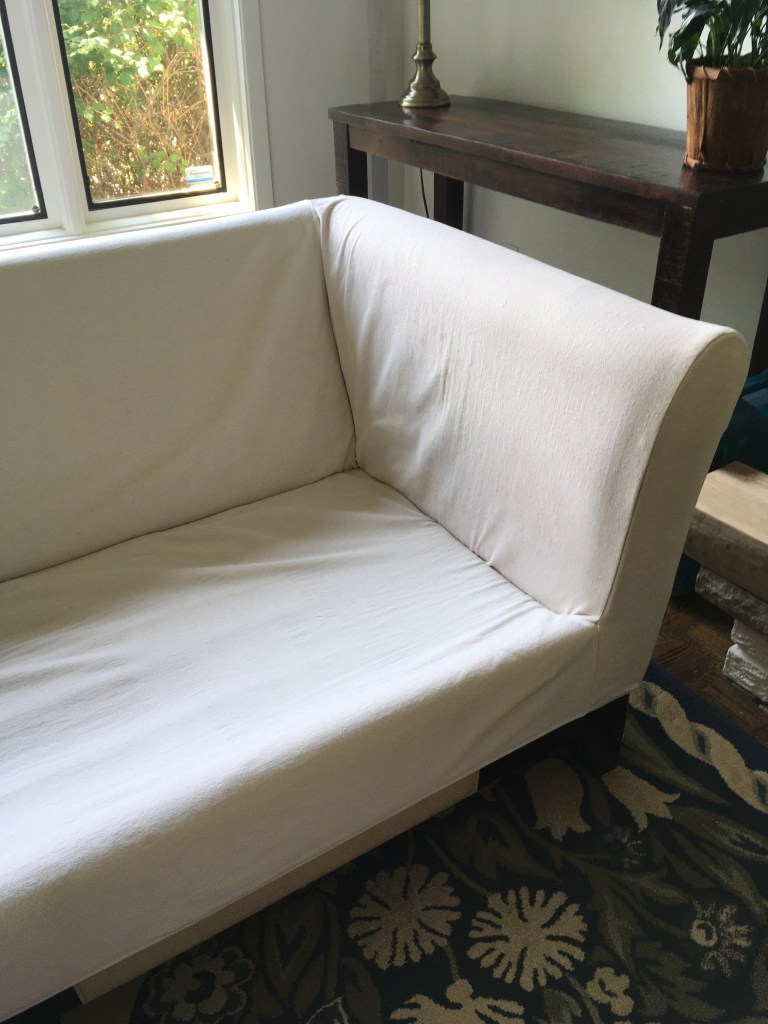
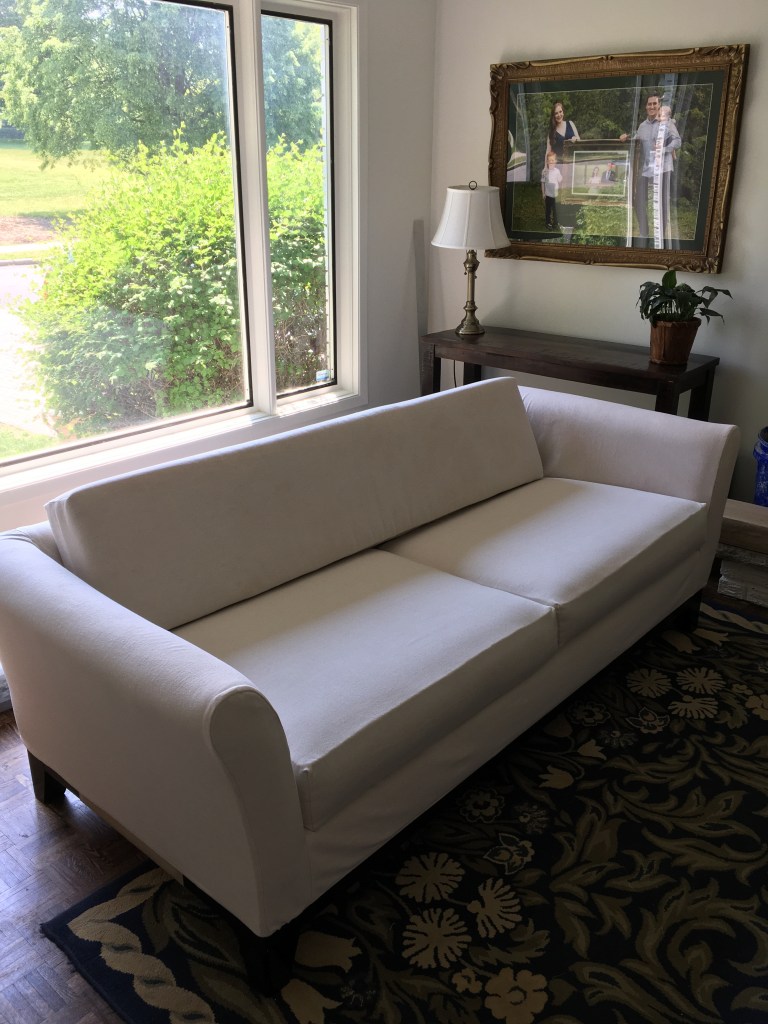
The resulting slipcover is even better than I had expected!
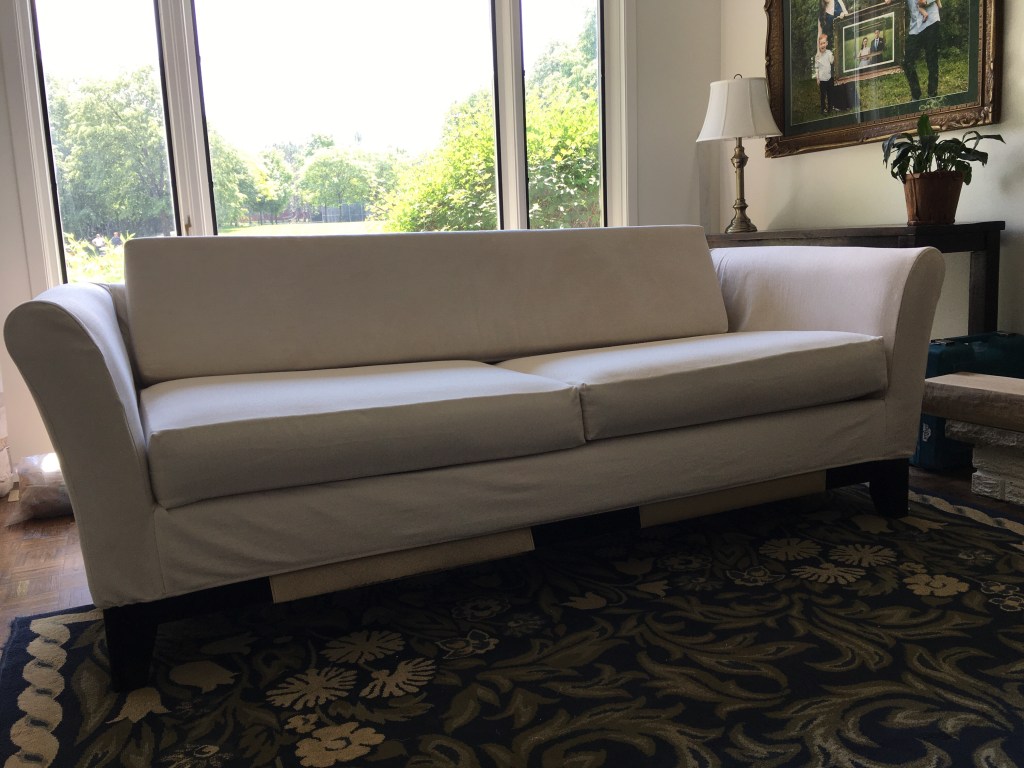
My mom is amazing, and I’m so glad I got to spend this time with her working on salvaging her mom’s couch.

I also got to learn some new sewing skills!

Wood Base
Finally, there’s the wood base of the couch. It looks like the whole thing should be removable and I managed to get most of the screws out but there are a few deep inside the legs that my screwdriver can’t reach. Eventually I’d like to remove the wood so I can take out the pleather material properly but for now I’m just using scissors and a utility knife.
Once I do get the whole base off I’d love to sand it down to a lighter wood. Daniel thinks it’s unnecessary but I think it would tie in nicely with our wood mantle and go with our new rug better. We shall see.
I still need to spray the slipcover with fabric protectant and get throw pillows for this couch and there’s lots more to do in this living room, but I can cross the slipcover off my project list!
THE PROJECT LIST:
DeclutterWiden entrywaysDrywallPrimePaint wallsPaint brick fireplacePaint window frames- Install and paint baseboards
Prep fireplace mantel- Install fireplace mantel
Cover the Couch- Music storage/station
- Firewood storage
- Replace rug
- Figure out lighting
- DIY Art
- Stage with art and accessories
Now with only 3 weeks left I need to prioritize my projects because I’m realizing I may not be able to get to everything! I’ll be back next week with another blog update. Until then, follow along in stories on Instagram or Facebook to watch our progress.
Cheers,
Lydia

Visit each week of my One Room Challenge™ here:
Week 1 | Week 2 | Week 3 | Week 4 | Week 5 | Week 6 | Week 7 | Week 8 |
Thanks for being here! See what everyone else in this challenge is up to at One Room Challenge™.

The couch looks fantastic, but I agree with Daniel regarding the couch… I don’t think the base of the couch really needs to be redone. It will be a lot of work for very, very little reward. Most people never even look at the base of a couch.
LikeLike
Thanks! I find the wood base is too dark though and disappears. I’d love for the legs to be more of a feature. We shall see..
LikeLike
Bravo!!! I’ve always wanted to try my hand at making one of these but never had the courage. Well done!!! Thank you for a great tutorial.
LikeLike
Thanks so much! I was lucky enough to have my mom’s help but we figured it out as we went along. It’s definitely worth a try!
LikeLike